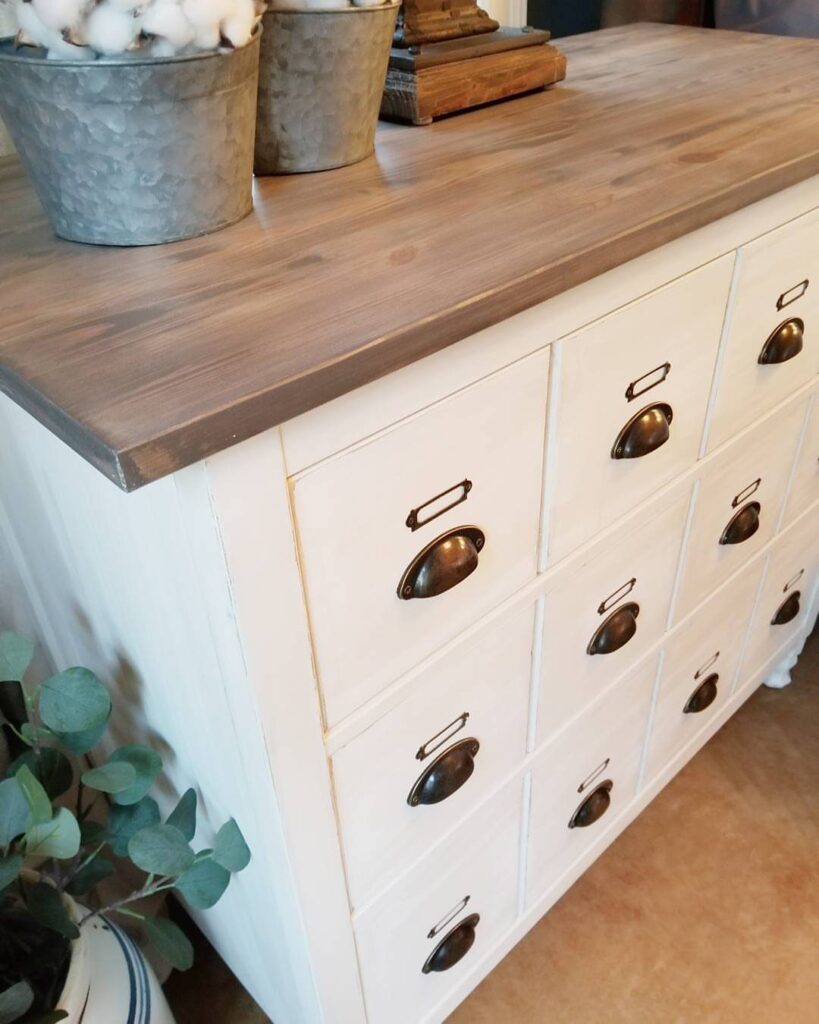
Which of these 4 hacks fits comes down to how much time you can give the cabinet.
A Bissa with a wood top and a mirror, or a Trones with a new finish, stays a short paint-and-seal job, while the fluted-front version takes a full weekend.
Every version ends with the same prep: de-gloss the laminate, then prime.
1. IKEA Bissa Cabinet Hacks
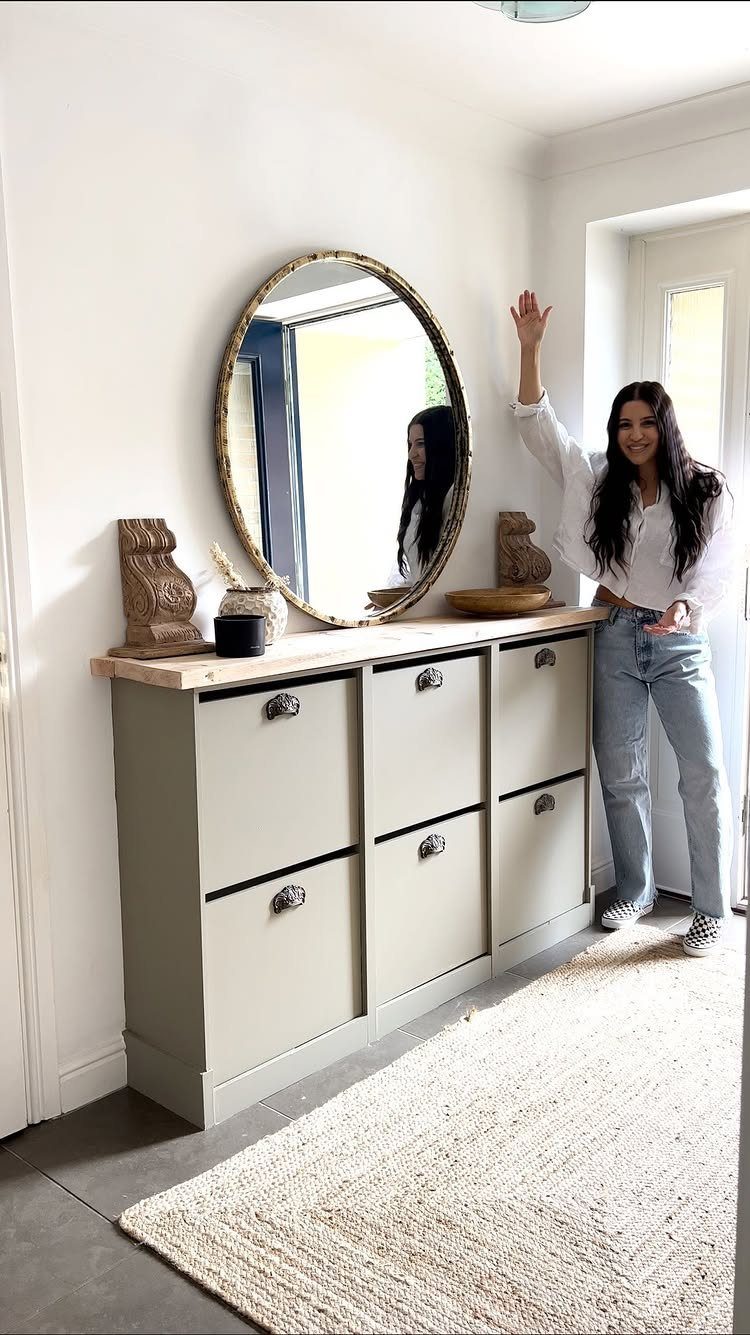
A plain Bissa gets its upgrade from 2 additions: a solid wood top and a round or oval mirror hung above it.
The wood top hides the flat laminate edge that makes the cabinet read as flat-pack, and the mirror turns a shoe cabinet into a proper entryway piece.
I’d pick a light grey or soft neutral finish for the cabinet so the wood does the talking.
Cut the top slightly larger than the cabinet so it overhangs a little, then sand, stain and seal it before setting it on.
Keep the surface styled lightly, with one or two objects, so the entry doesn’t look crowded.
Zubot snagged two $90 IKEA EKET cabinets, attached and bolstered the units with a seamless wood top and base, added custom feet and contrast moldings for visual interest, and painted the unit a rich shade for wow-factor.
— Hunker
2. IKEA Hemnes Cabinet Hacks
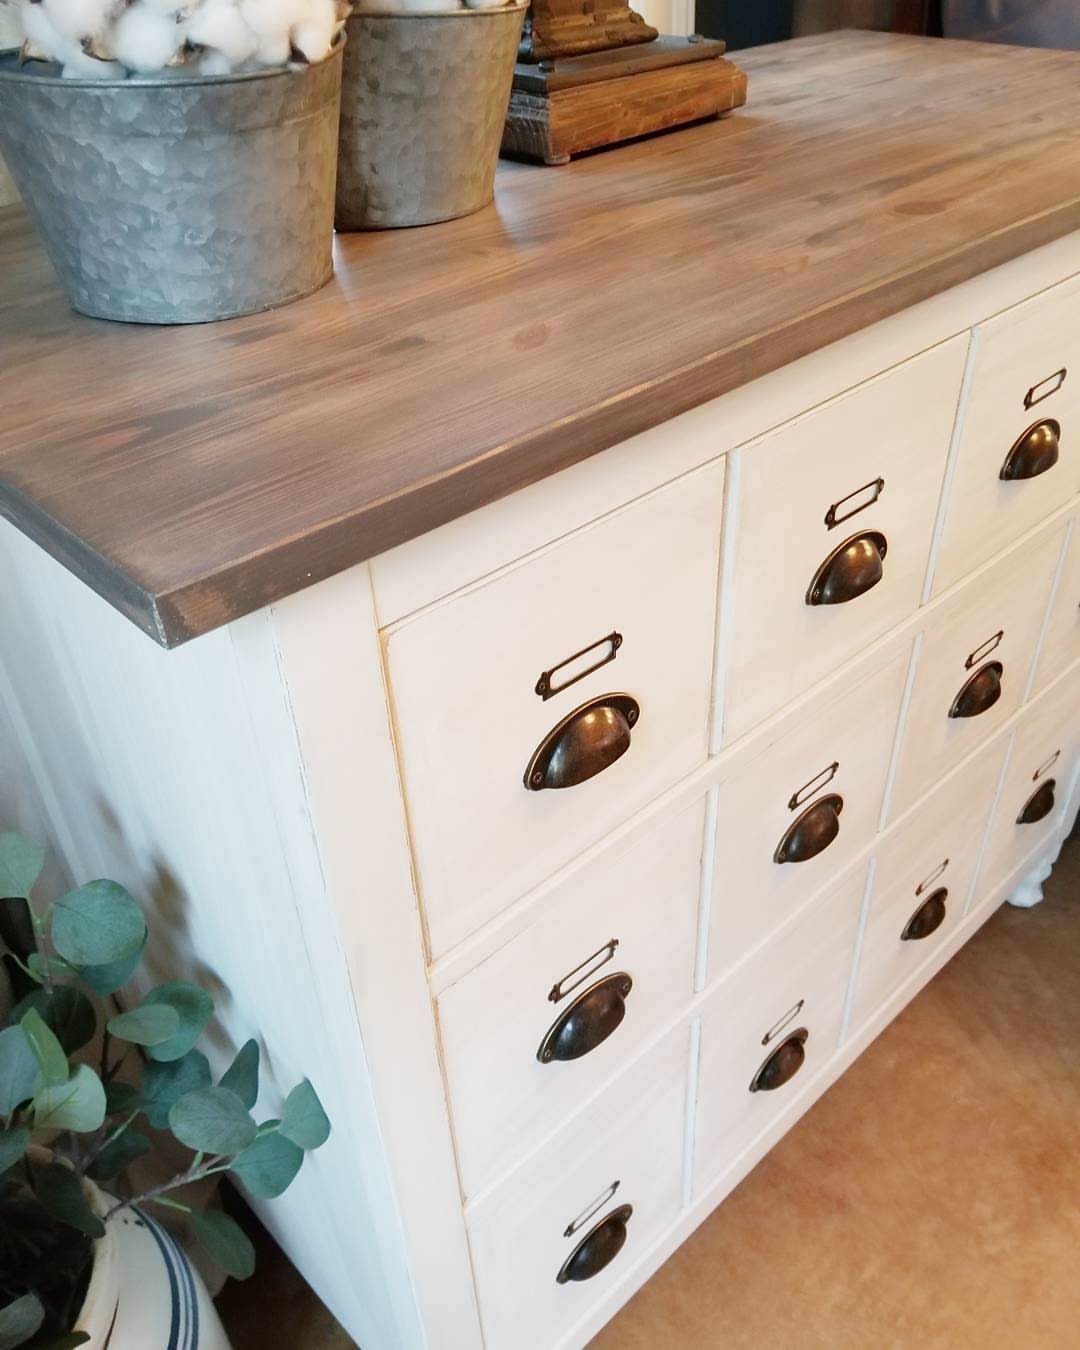
Swapping the hardware and top does most of the work on a Hemnes, and it costs far less than buying a new piece.
Choose pulls that match the screw spacing of your existing holes, or you will be drilling new ones. Sand the top lightly before staining, and seal it so shoes and keys don’t mark it.
I like this version for rooms where the cabinet has to match existing farmhouse decor.
3. Wood Top Trones Hack
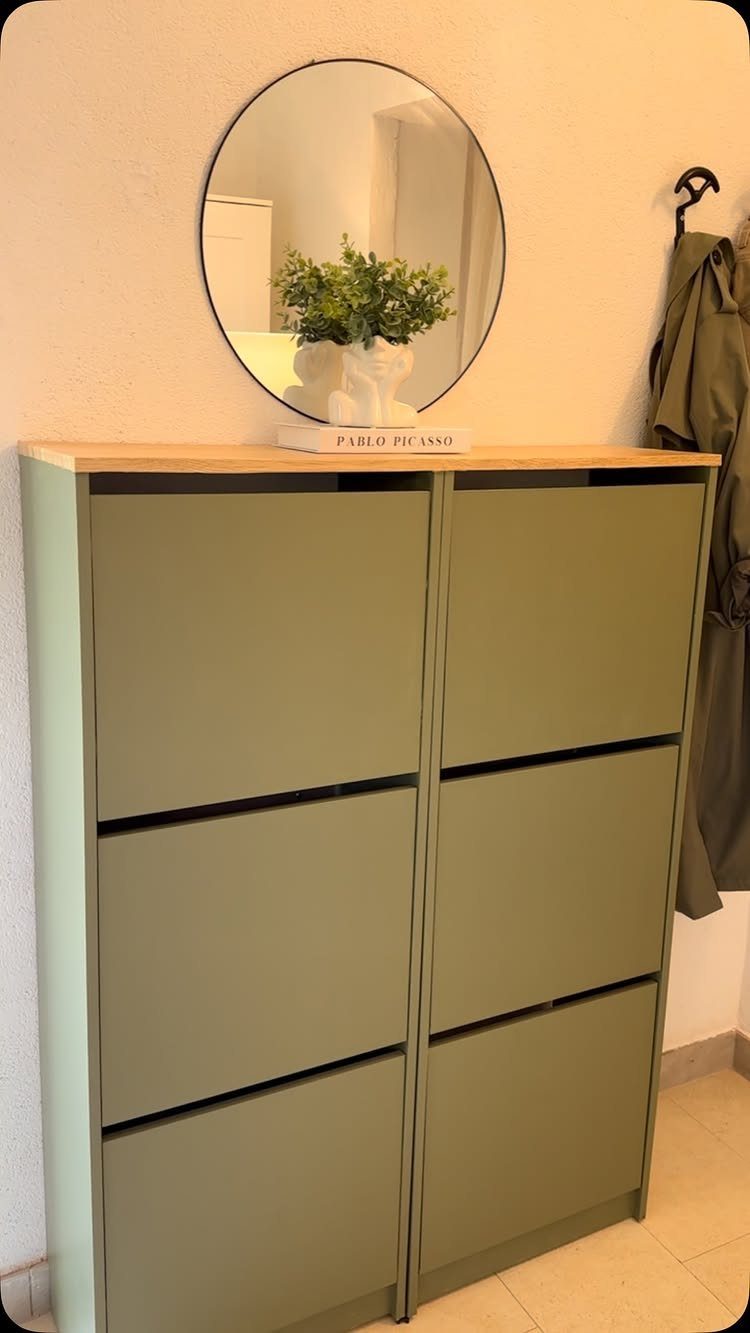
Painting a Trones sage green and adding a light wood top slab gives the flip-down cabinet a warmer, more designed look than its stock finish.
Because Trones is a multi-compartment cabinet, the slab also gives you a real surface for a mirror, a planter or a bowl for keys.
Sand the surfaces and use a primer made for plastic before painting, since paint won’t grip a slick finish without one. Cut the slab to the cabinet’s width and depth, then seal it.
Light wood against sage is a quiet pairing, and I would keep the styling that simple.
4. Fluted Detail Shoe Cabinet
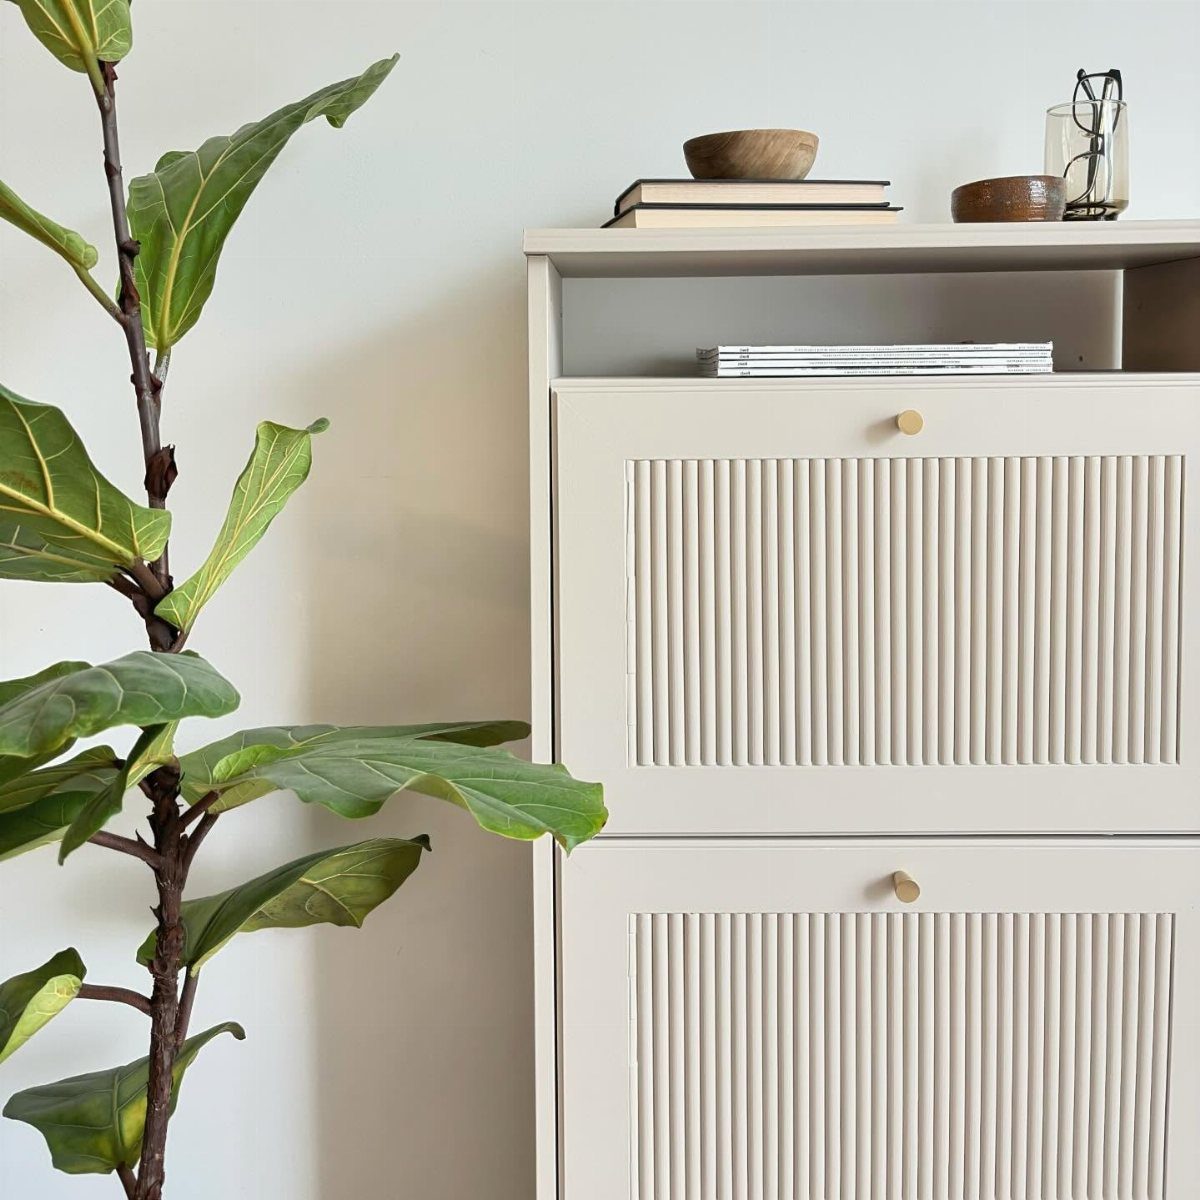
Fluted door fronts are the detail that makes a white cabinet look custom. The vertical ridges add texture and shadow, and brass knobs finish the look without crowding it.
The simplest route is to add fluted panels or strips to the flat doors you already have, then paint everything white so the texture is the only thing standing out.
Pick knobs in one finish and install them last, after the paint has dried.
This takes more patience than a paint-only hack, so expect to spend a full weekend on it. A cabinet this clean looks best with a few books and bowls on top, and nothing more.
DIY Tips for IKEA Hacks
Construction adhesive is what keeps a hacked piece from racking. Run a bead wherever you attach a new top, panel or molding, then add pin nails where they won’t show.
Paint prep decides how long the finish lasts. Laminate and melamine are slick, so wipe the surface with a liquid de-glosser first, brush on a bonding primer, and finish with 2 coats of a durable cabinet paint.
If the doors can’t come off after assembly, as on the EKET, paint only the door fronts. Tape off the edges and leave the inside in its original wood tone.
If you want a more custom look, pick up thin MDF molding at a home improvement store in whatever profile suits your style.
Pre-cut each piece with 45-degree angles and pre-paint them in a contrasting color, then glue and pin them around the top and bottom to cover the seams.
Gluing and nailing a rectangle of that trim to the front of each door gives a flat slab a paneled look.
Once the trim is on, press caulk into the nail holes and the seams where the molding meets the door, let it cure, and dab paint over the repairs.
For a subtler look, attach the moldings before priming and paint everything one color in a single pass. Add the hardware last.