A stacked washer and dryer frees up floor space, and the ideas here range from fun wallpaper to a rolling basket cart to cabinets built to the ceiling.
Which one fits depends on the height of the shortest person running the machines, since the dryer rides on top and its door opening sets how much reach you can count on.
Before you buy anything, measure that opening, and check the space requirements for clearance in front of the stack.
1. Shelves and Cabinets Around Stacked Units
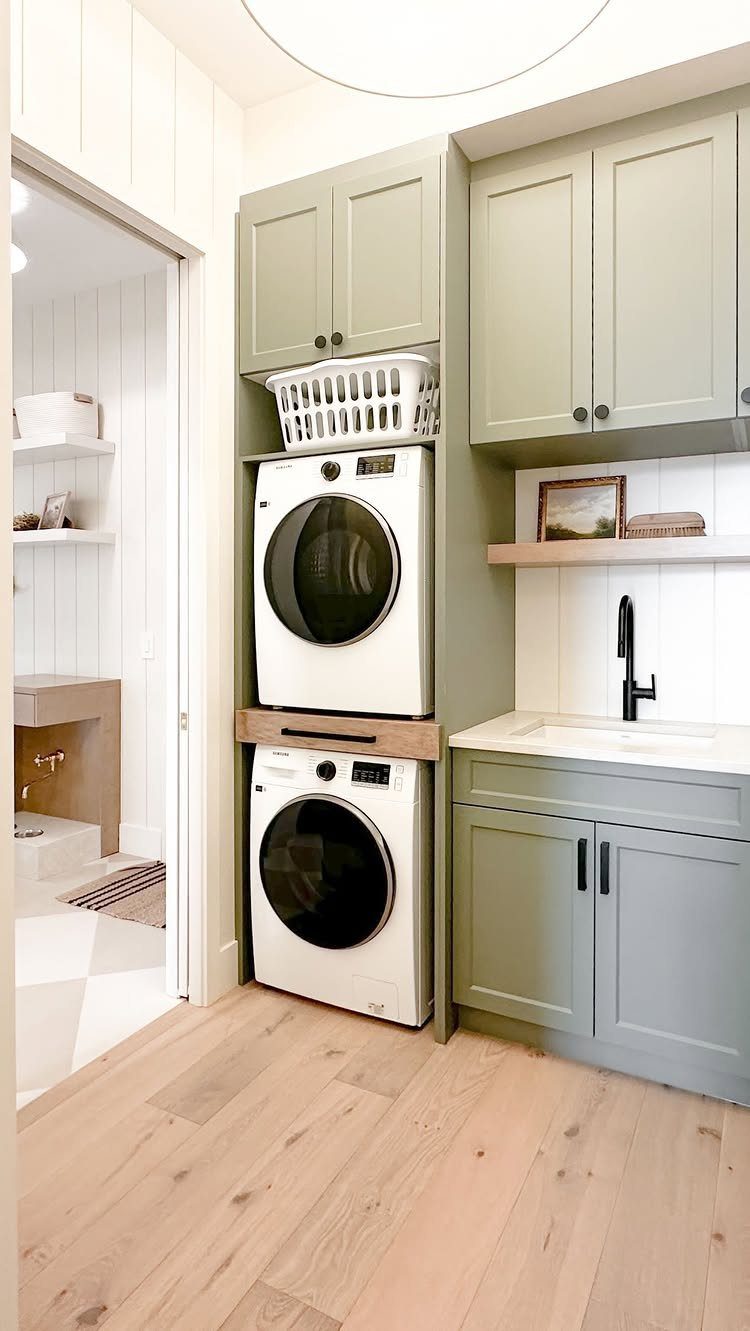
Cabinets above and beside a stacked pair turn the machines into part of the wall instead of a freestanding appliance. Sage green paint on the cabinets keeps the white units from looking stark.
A short wooden shelf beside the machines gives you a spot for the things you grab mid-load. Run the cabinets to the ceiling if you can, since the stack leaves you with a tall, narrow gap that otherwise collects dust.
2. Fun Wallpaper
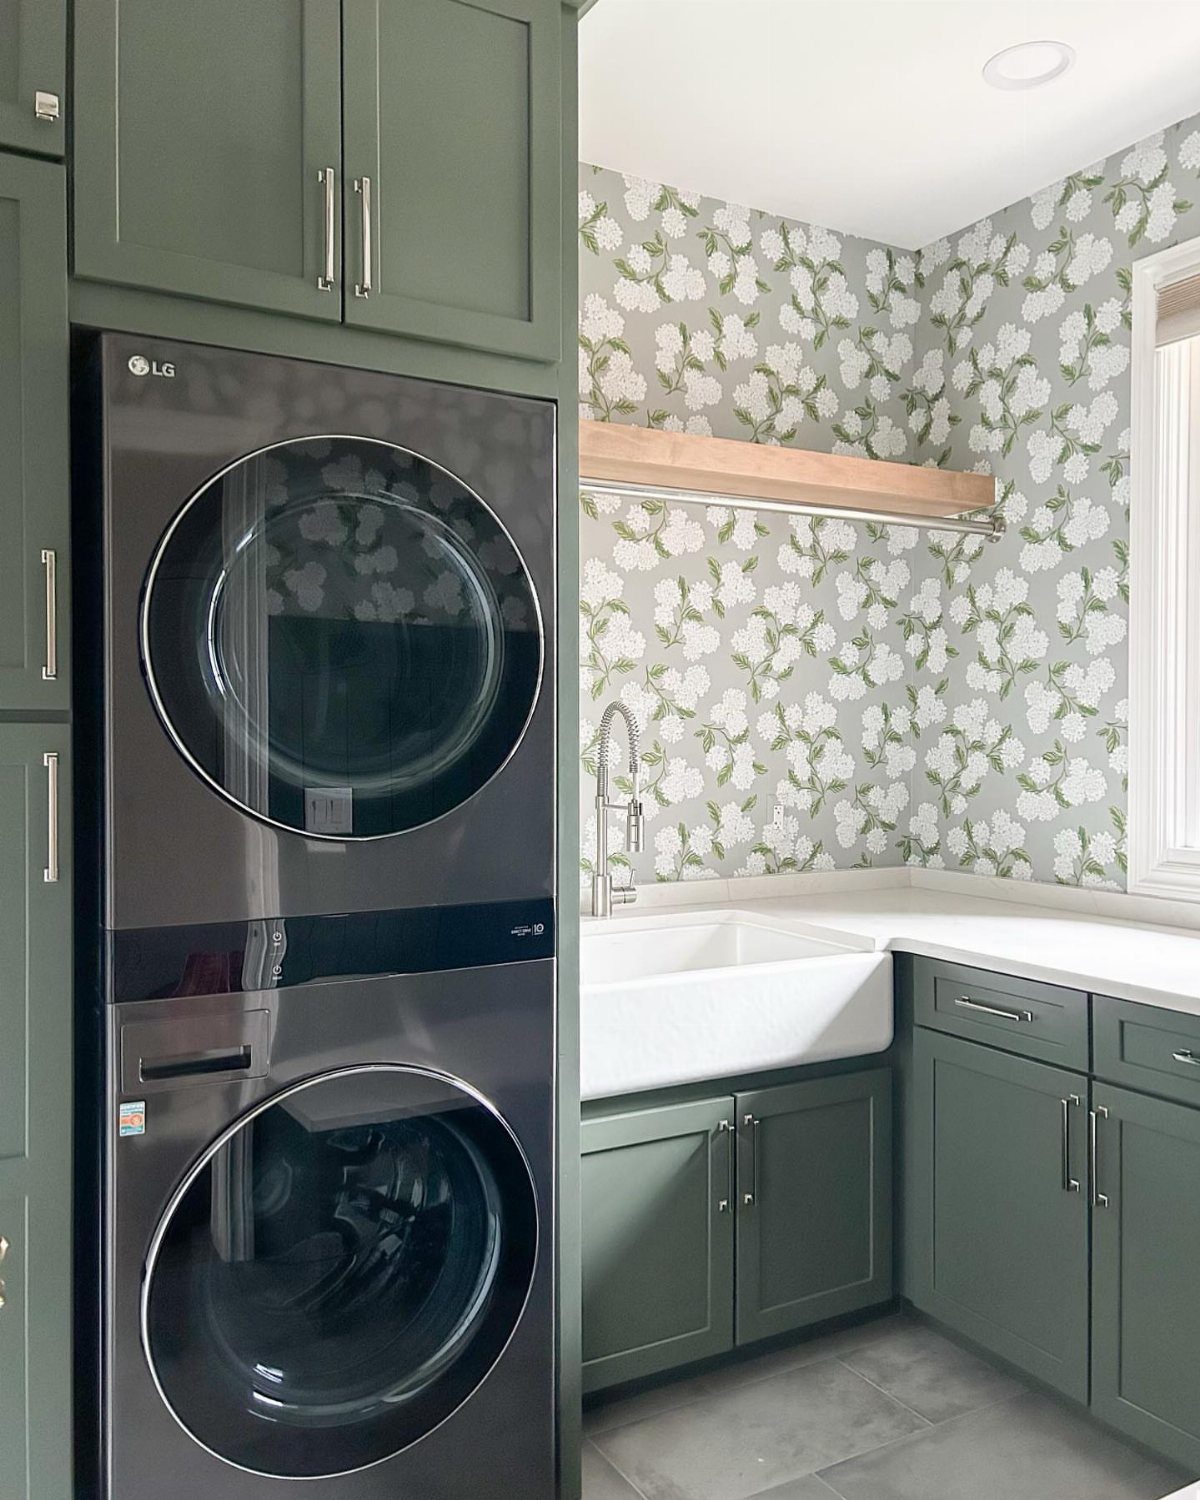
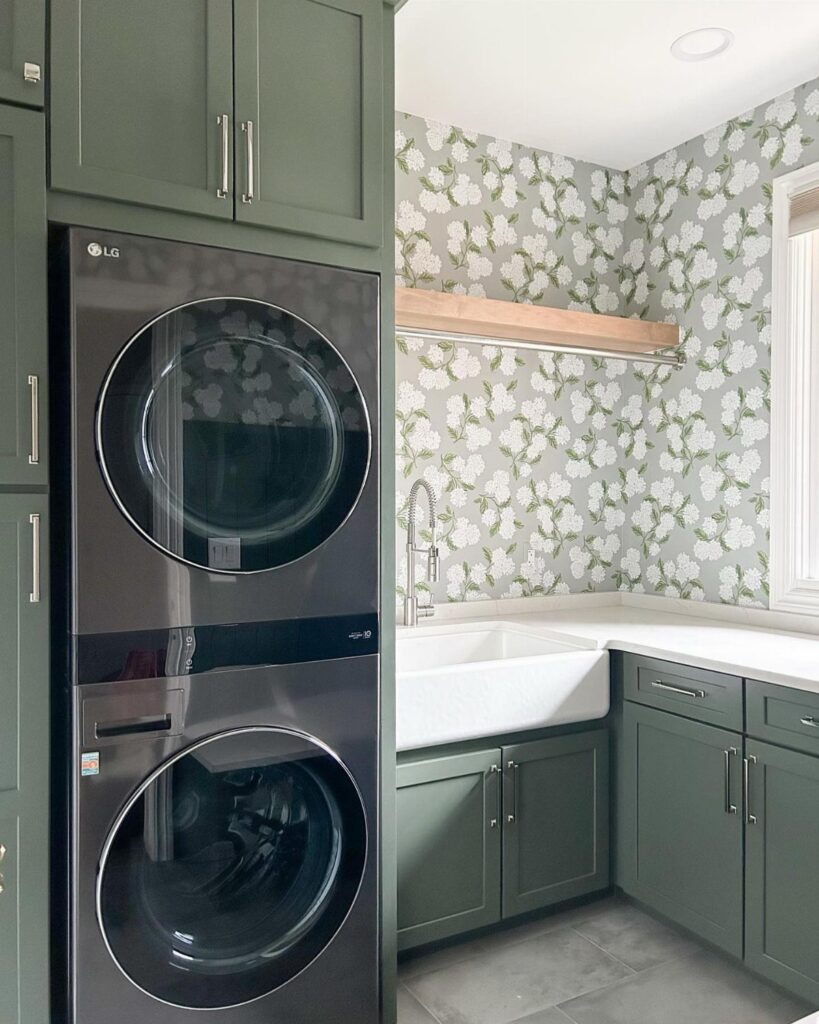
Wallpaper is one of the cheapest ways to give a laundry room personality, because a single roll or two covers a wall without touching the machines.
Wallpaper is the cheapest way to give a stacked washer and dryer some personality, and a bold print holds its own even beside dark appliances and colored cabinets.
Pick a vinyl or peel-and-stick style rated for moisture, since dryer heat and steam will lift cheap paper at the seams.
I like peel-and-stick for renters, since it comes off later. Keep the pattern to one wall or the area around the sink so the room stays calm.
3. Vertical Space Utilization
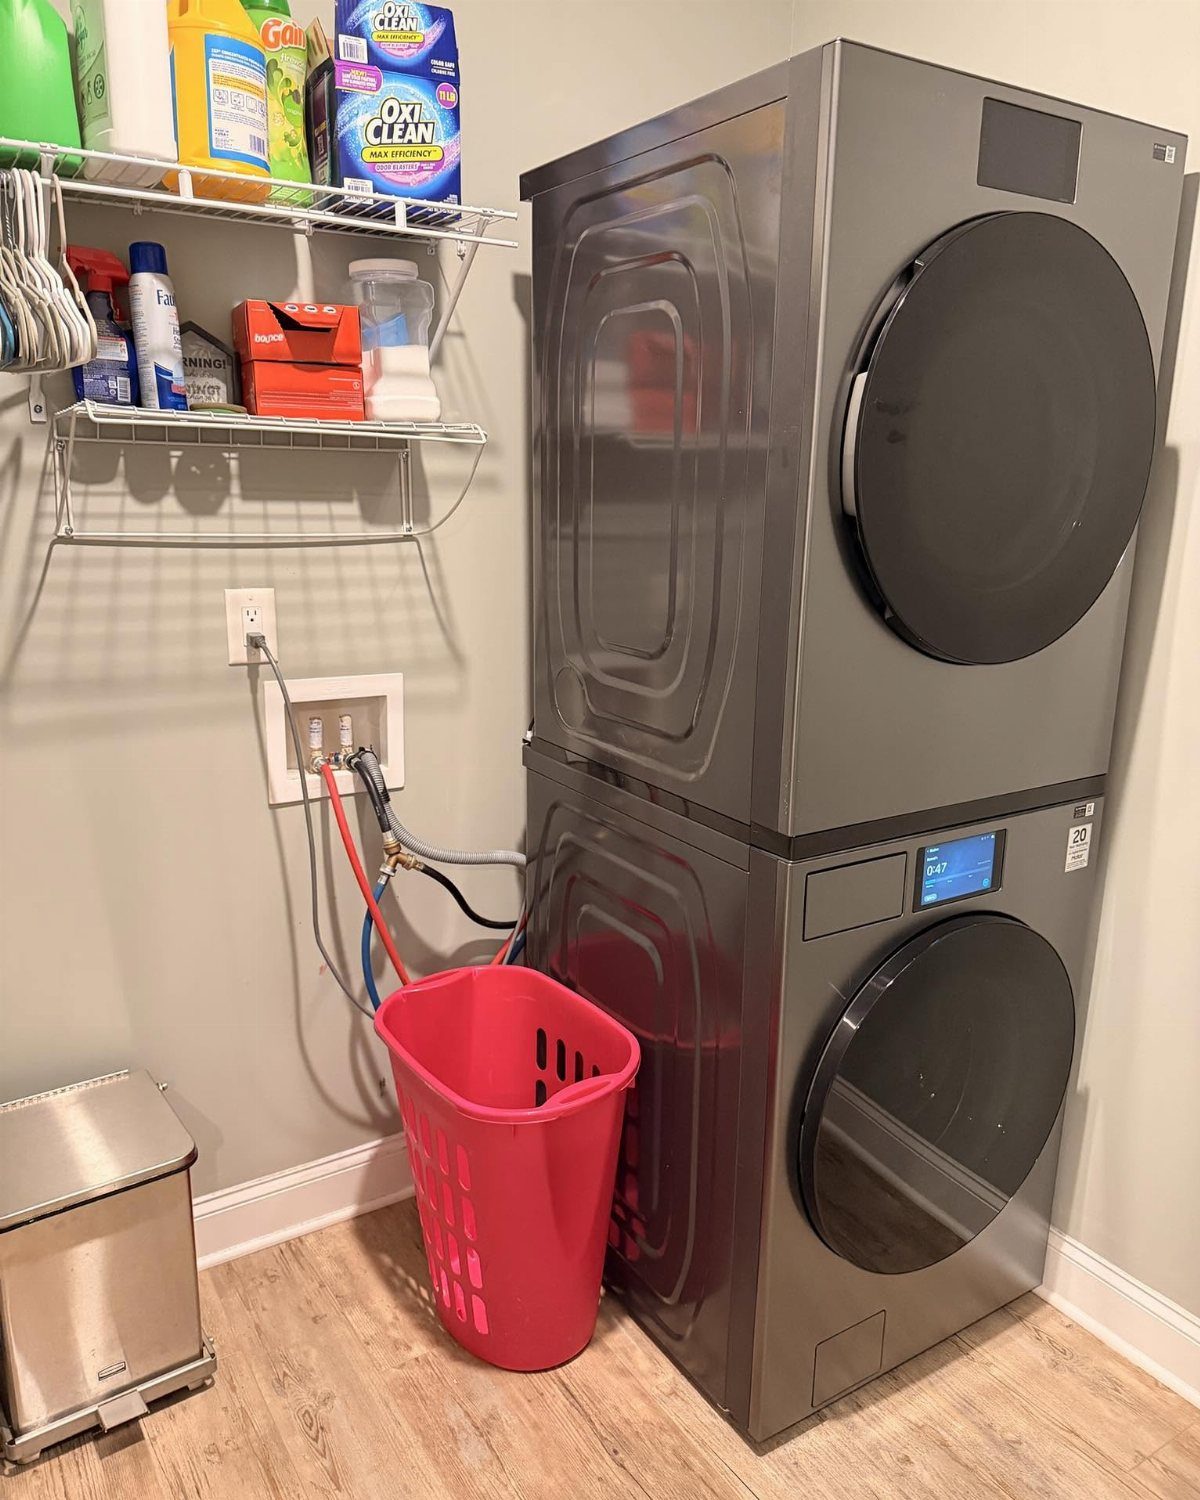
Above a stacked washer and dryer, the wall is free space most people leave empty. White wire shelves hold detergent and stain remover within reach, and they cost far less than cabinets.
Put the items you use every load on the lowest shelf, and keep extras higher up. A hamper on the floor beside the stack uses the corner that would otherwise go to waste.
4. Step Stool
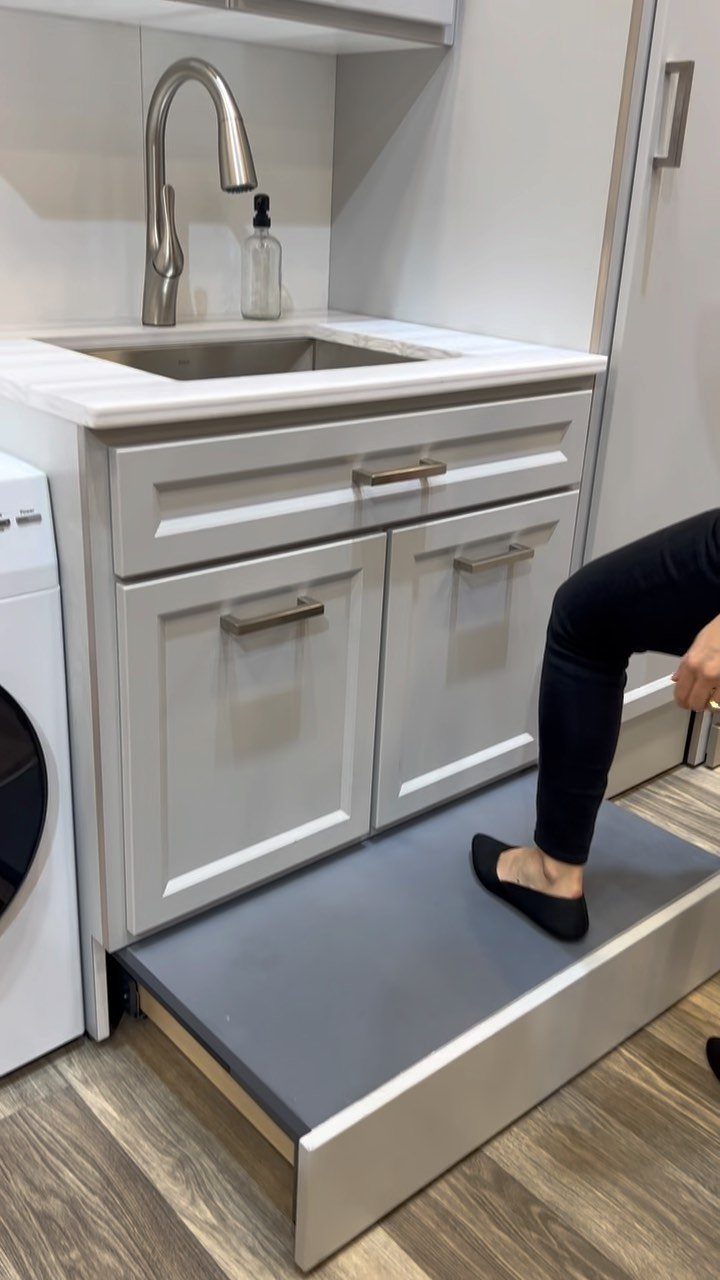
A pull-out step stool tucked under a cabinet solves the problem of reaching the top dryer controls without leaving a stool in the way. It slides back into the toe-kick space, so the floor stays clear.
Choose one that matches the cabinet color so it disappears when closed. It makes the most sense in a room where shorter family members run the machines.
5. Pull-Out Folding Shelf
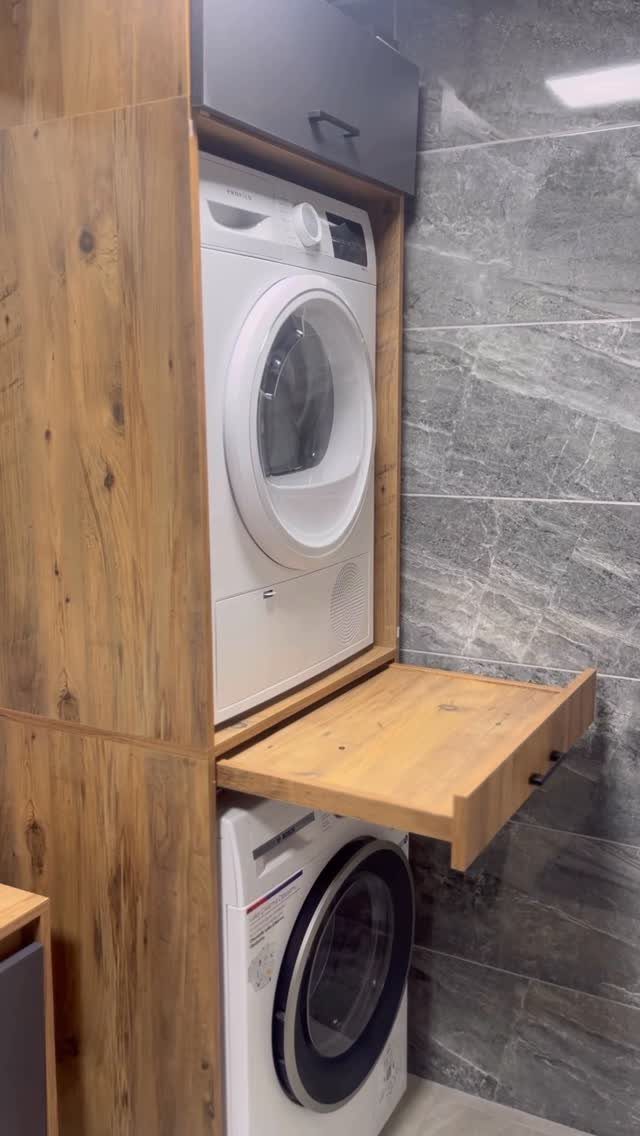
A wooden shelf that slides out of the cabinetry gives you a folding surface exactly where the laundry comes out of the dryer. When it is pushed in, the room goes back to being narrow and open.
Wood warms up a grey tiled wall and white machines nicely. Check the shelf’s weight rating before you pile on a full load of towels.
6. Rolling Laundry Basket Cart
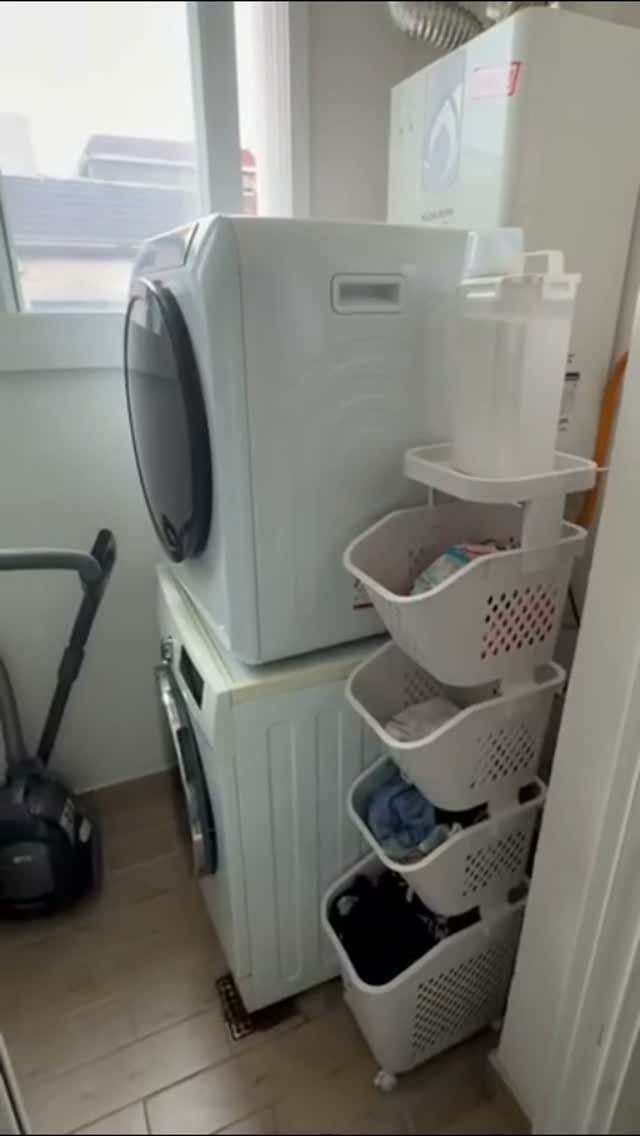
A four-tier rolling basket cart sits right beside the stack and lets you sort lights, darks and towels before a load starts. White keeps it quiet next to white machines.
I prefer wheels with locks so the cart stays put while you fill it. Roll it to the bedrooms to deliver clean laundry, then park it back against the wall.
Installation Considerations
Placement decides how well a stacked pair works day to day.
Because the dryer rides on top, its door height decides the spot: stand at the location and make sure you can reach in and pull out a wet towel without strain, and leave floor room for a step stool if the stack is tall.
Stacked or not, a dryer has to push hot, damp air outdoors, so it needs a clear path for the vent duct.
Without one, the dryer can overheat and the room can develop moisture problems, so keep the run short and unobstructed.
Plumbing deserves the same early attention. Water supply valves and the drain standpipe set the washer’s position, so mark where they sit on the wall first and design shelves and cabinets around them afterward.
Downsides of Stacked Units
Stackable units can come with smaller capacities and higher dryers. Those are the 2 real costs, and both are easy to check before you buy.
For capacity, think about your biggest loads, such as bedding and towels, and compare drum sizes with how you actually wash. For height, measure the dryer door opening against the shortest person who will use it.
With that planning done, a stack works for most homes. If either number fails the test, a side-by-side pair may suit you better, and I would rather you know that before the machines are delivered.
Space Requirements
Leave 4–6 inches behind the stack for hoses and the vent connection. Pushing the machines flush to the wall is how vent lines get crushed and airflow suffers.
On the sides, allow 1–3 inches. That small gap keeps the units from rubbing the walls or cabinets and gives vibration somewhere to go.
In front, plan for 24 inches of clearance so doors can open and you can stand and load comfortably. Measure the full footprint, including these gaps, before you buy the machines or order cabinets.