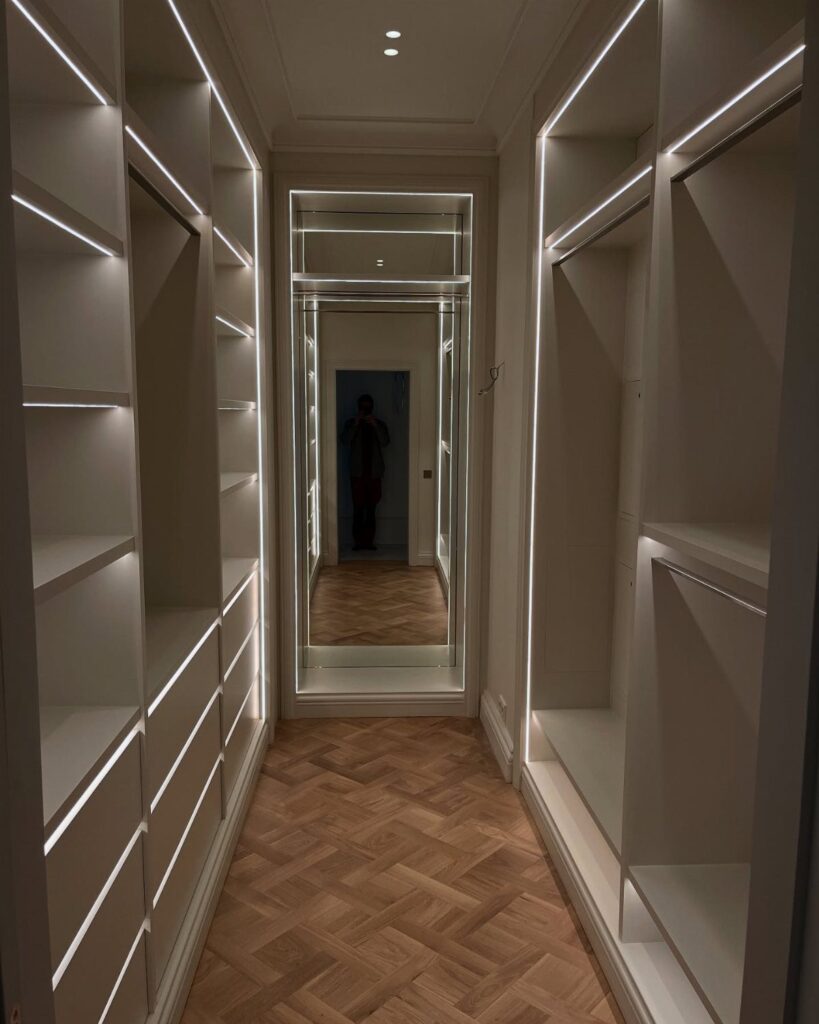
Every idea here, from a single wall of shelving to a full island with room to walk around it, depends on how much floor is left once the storage goes in.
When the number comes up short, one-sided storage or 12-inch shelves usually fix it before any other idea does.
1. Lighting in Walk-in Closets
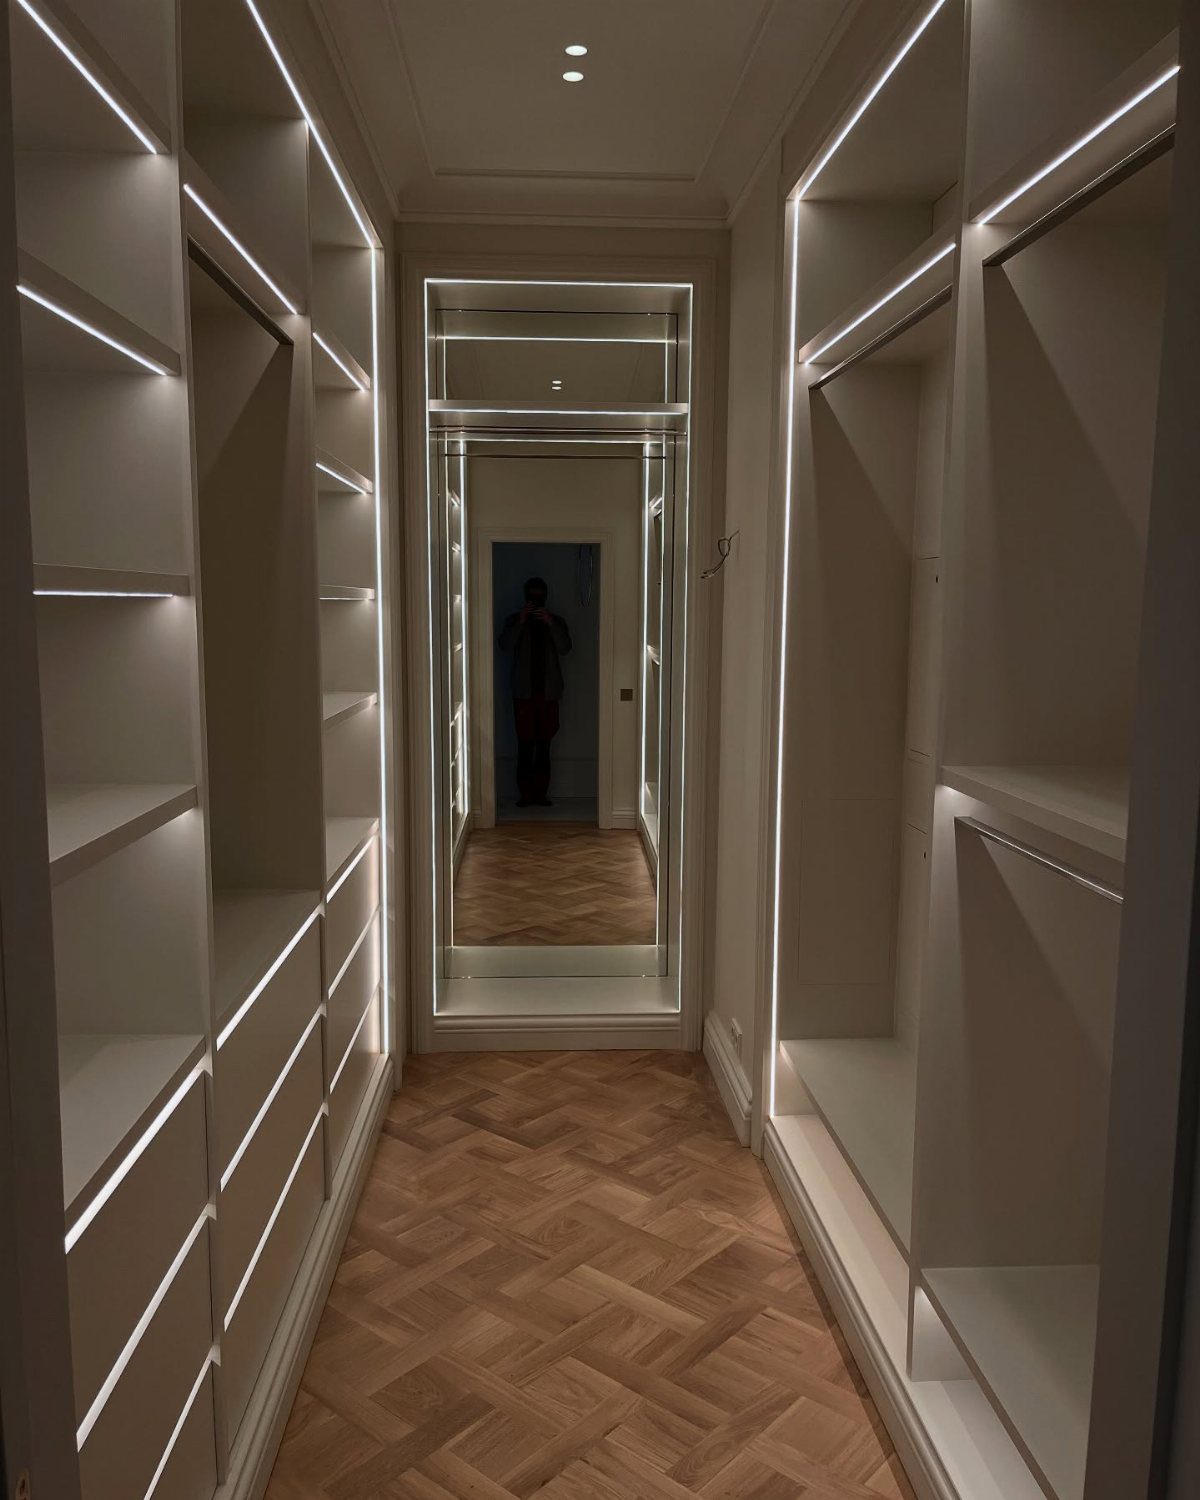
Light strips tucked along the front of each shelf do the work a single ceiling fixture can’t: they put brightness right where you’re looking, so black pants stop passing for navy.
White shelving bounces that light back into the room, which keeps a closet looking clean and makes it feel larger.
Aim the strips toward the front of each shelf so they light the clothes, not the back wall. A full-length mirror opposite the door doubles the effect, and I’d keep it.
Choose LEDs with a CRI of 90 or higher if you want colors to look true in a closet.
2. Custom Shelving Options
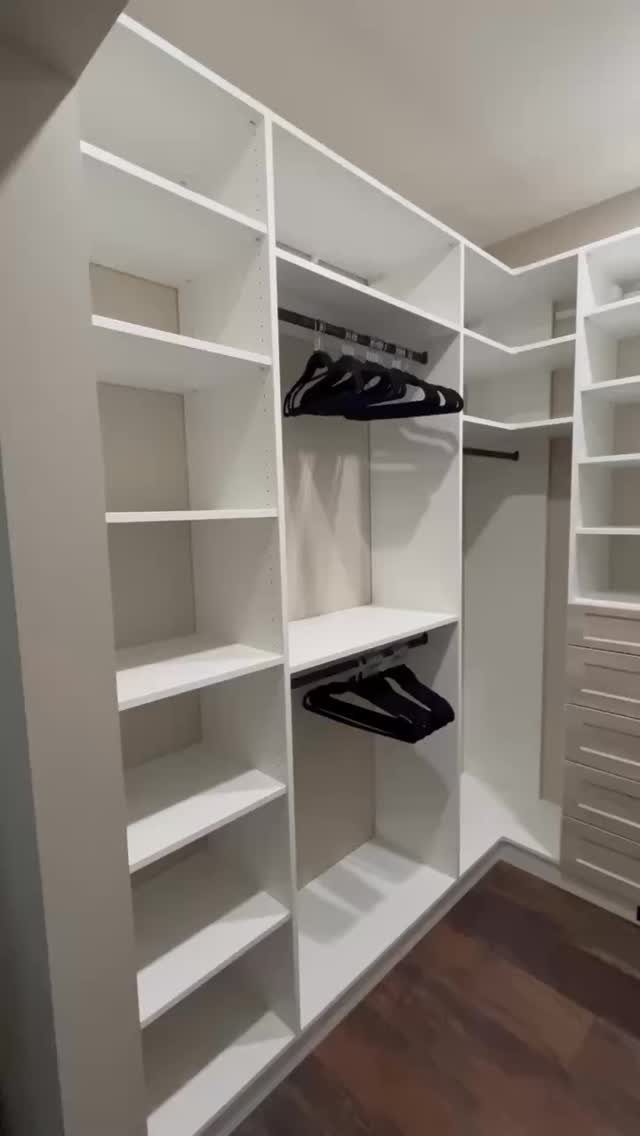
Adjustable shelves are the reason a closet keeps working after your wardrobe changes. Boots, folded knits and handbags all want different gaps, and fixed shelves force a compromise on every one.
In a white system like this, I’d split the wall into 2 hanging rods for shirts and pants, then leave the rest to shelves you can move.
Open shelves keep everything visible, and a few integrated drawers handle small items that would otherwise slump.
Set the shelf heights only after laying your actual shoes and stacks out on the floor.
3. Drawers in Walk-in Closet
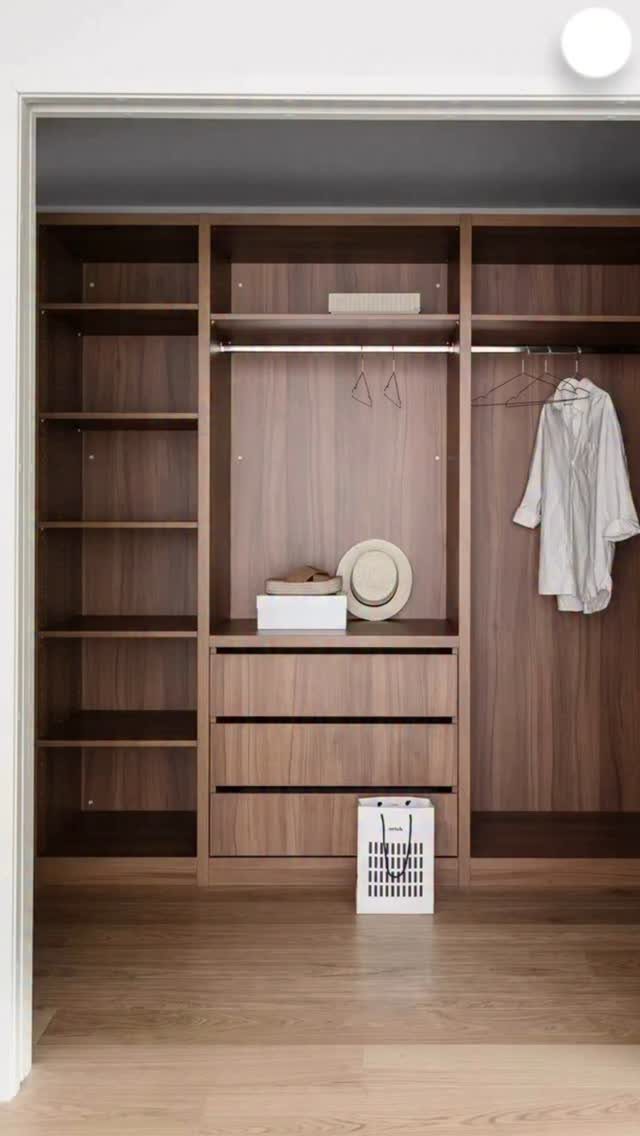
Drawers earn their space in a walk-in because folded items stay put and visible, instead of piling on a shelf. 3 large drawers under open shelving, as here, give sweaters and jeans a home without a separate dresser.
I’d go deeper on drawers wherever the room allows, since deep drawers hold folded stacks without crowding. Keep the drawer fronts below hanging rods so nothing swings into them.
A laundry basket beside them keeps the routine simple.
4. Walk-in Closet Walkway
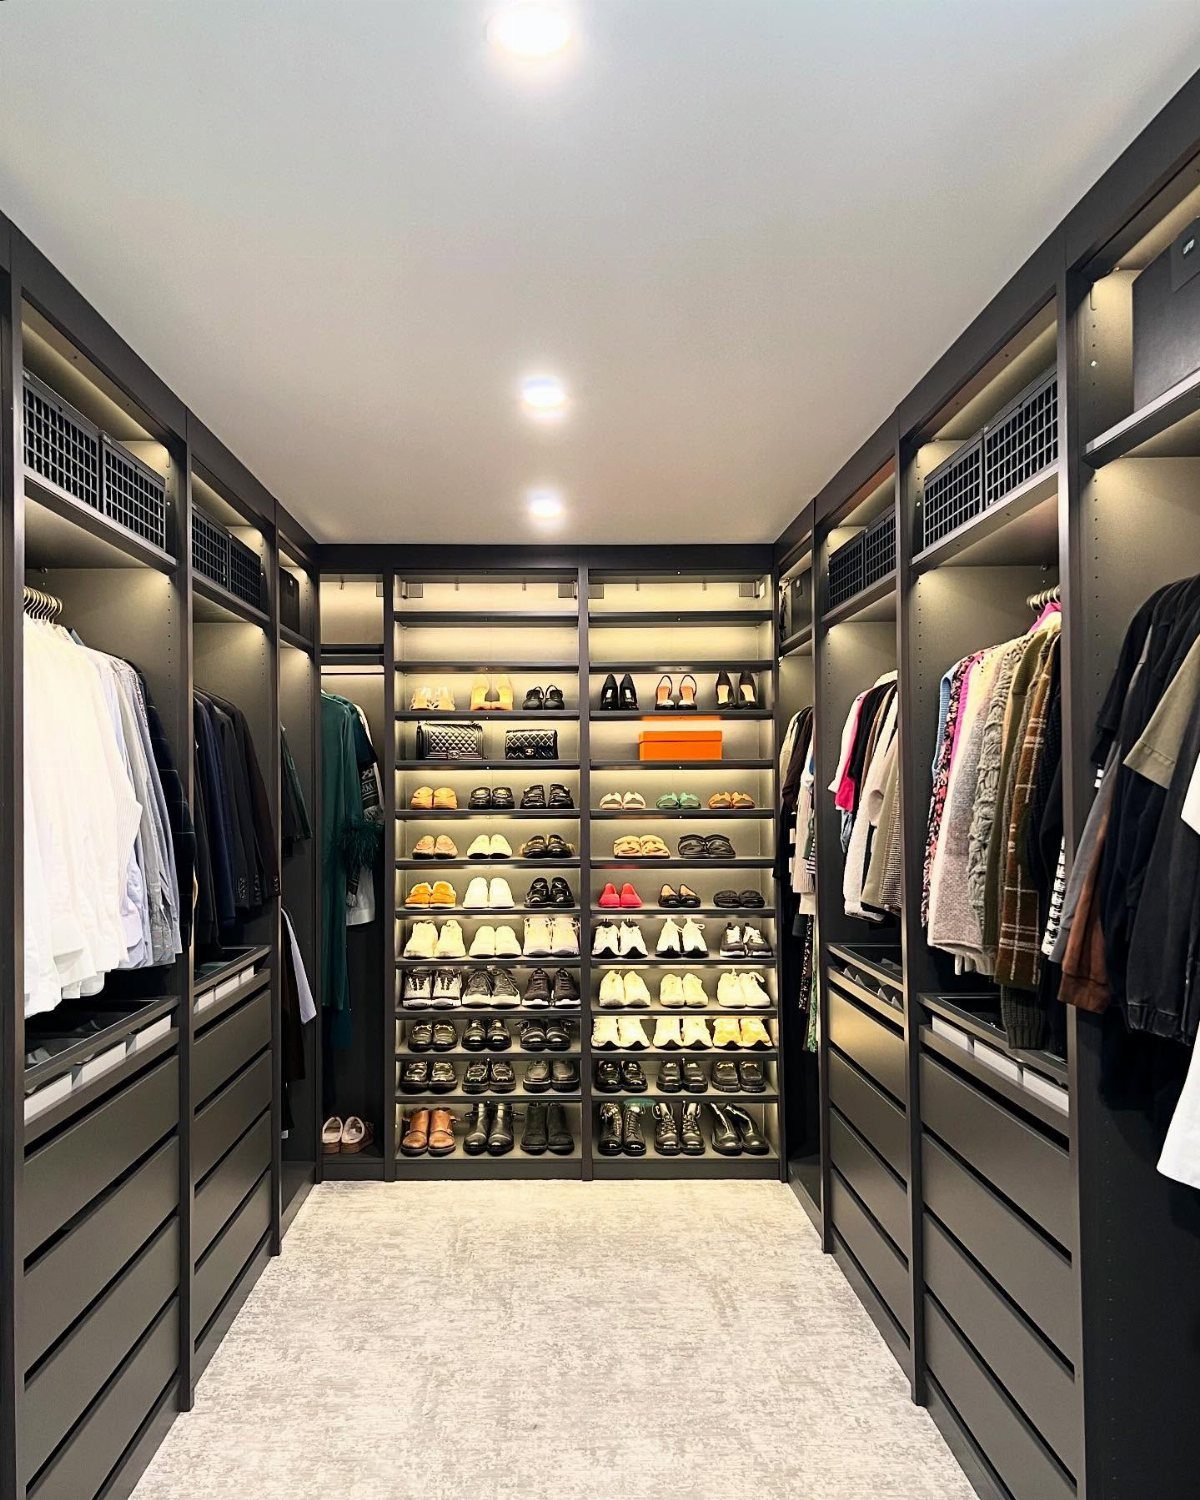
A walkway is the strip of floor you stand on, and it decides whether a closet feels usable or cramped. Here it runs down the middle between shoe shelves, hanging rods and drawers, and the light carpet softens it underfoot.
Leave a clear aisle wide enough to walk and open a drawer without a shuffle. Go narrower and the drawers fight your knees.
Measure the aisle with the drawers pulled out, not closed.
5. Minimum Size for Walk-in Closet
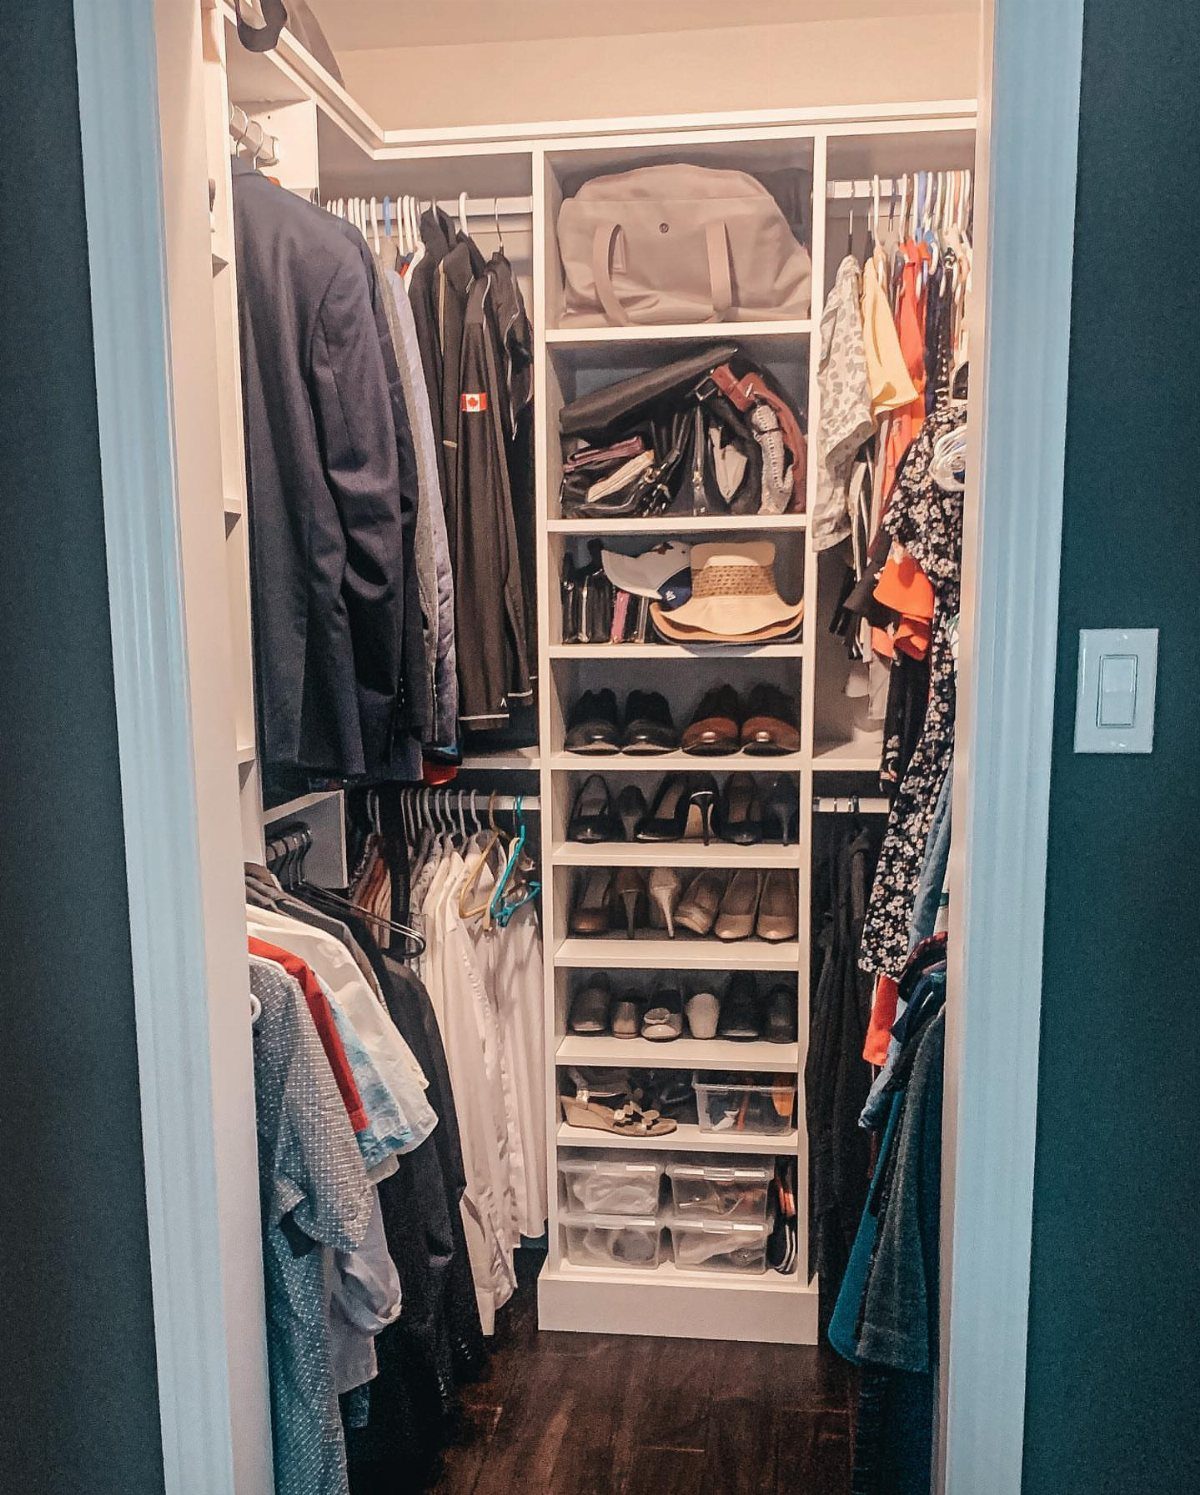
Even a narrow walk-in can hold a surprising amount when shelving runs the full wall.
A common rule of thumb puts the minimum useful depth near 4 feet, enough for one rod on one side plus a person standing in front of it. Below that, a reach-in usually serves better.
I’d keep shoes low, hang daily clothes where your eyes land first, and push seasonal bags to the top shelf.
6. Island Walk-in
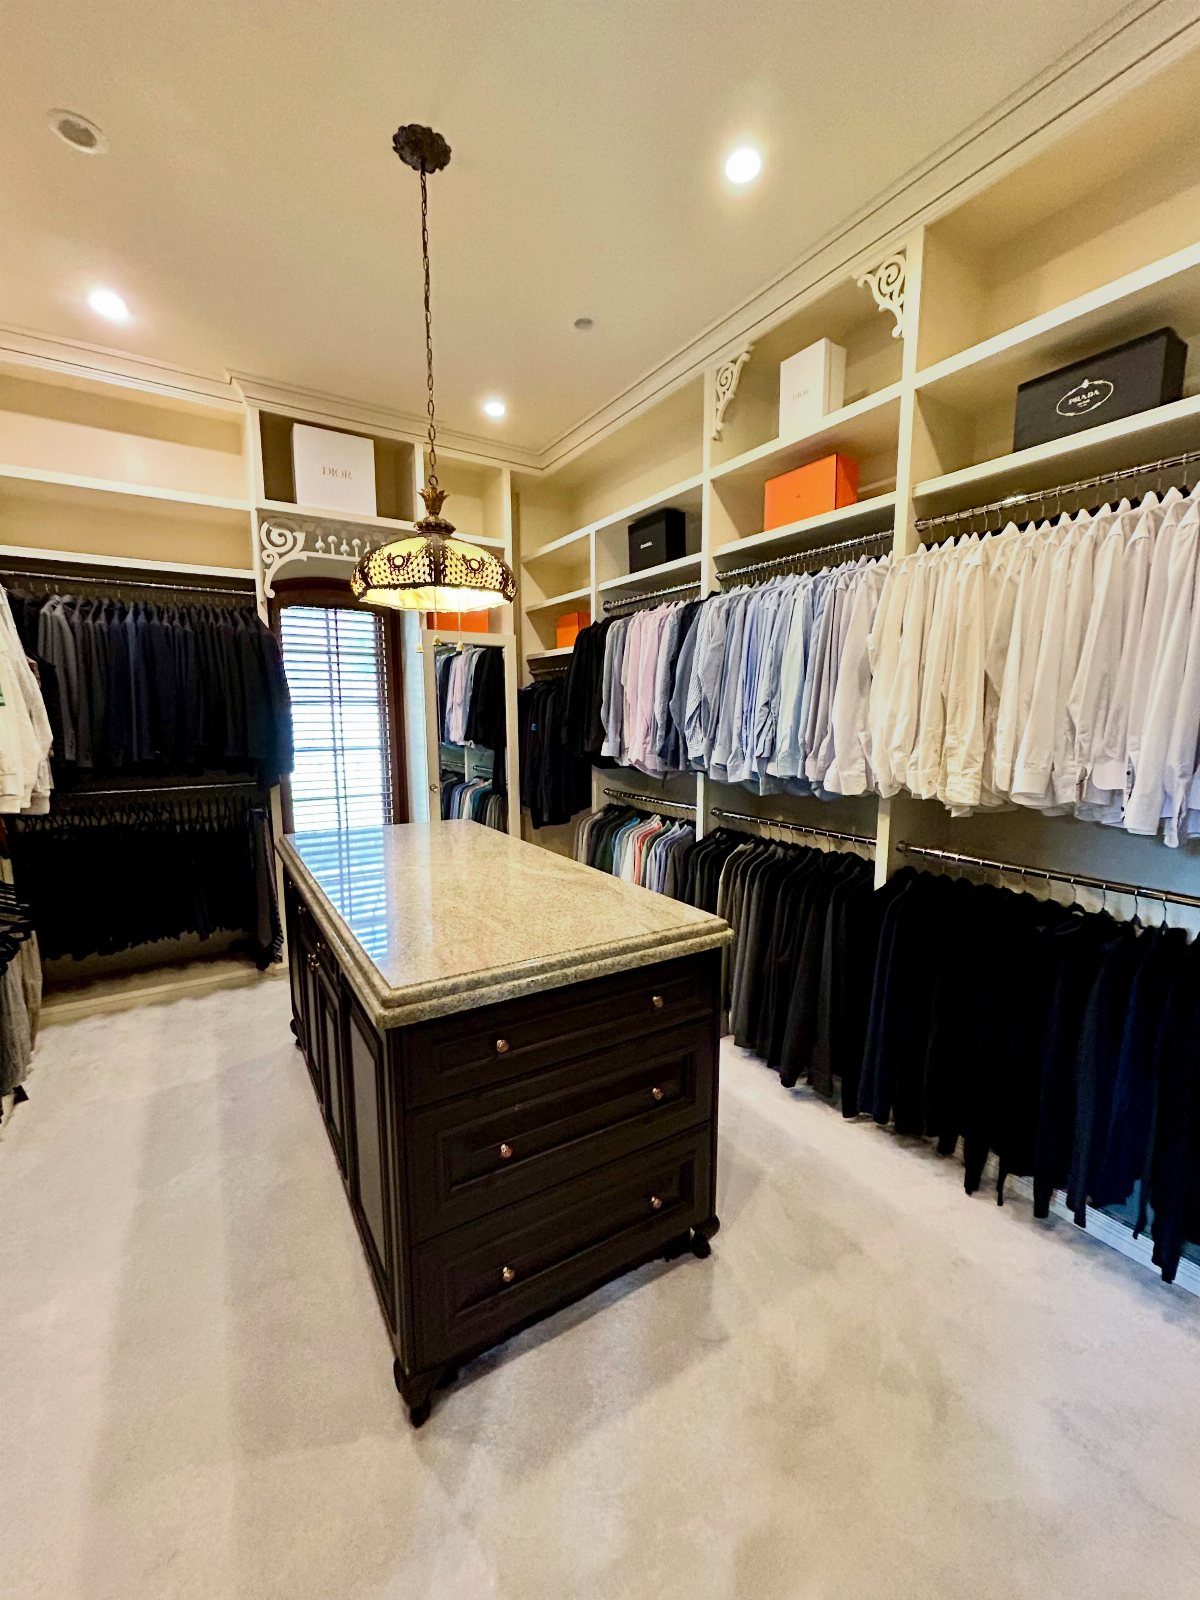
An island turns a closet into a room you can stand in, with a surface for folding, laying out outfits and a drawer or two beneath.
It’s a layout for big closets only. Leave generous clearance around the island; if it’s too tight, it blocks the rods.
If the room is smaller, a narrow bench is the sensible swap.
7. Single-sided Walk-in Closet
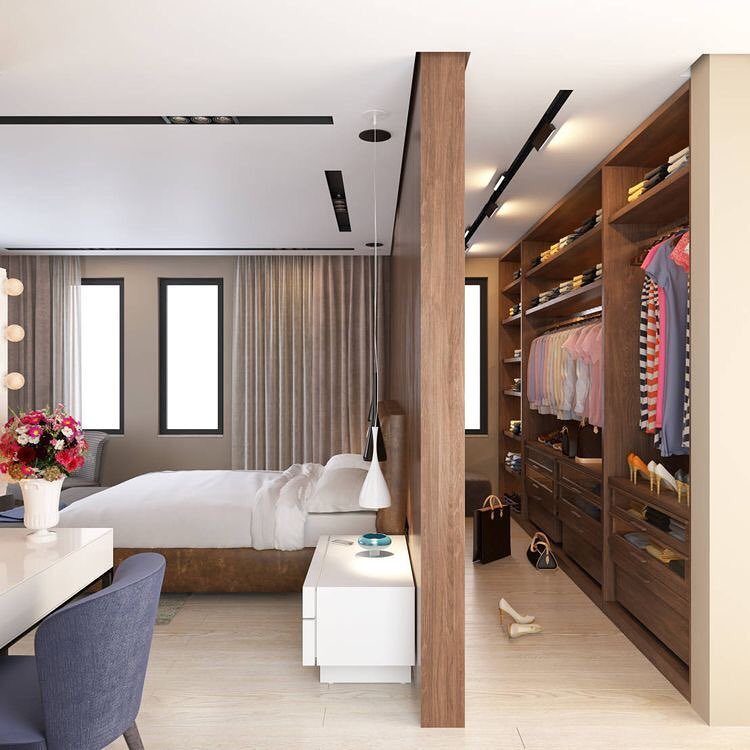
Putting all the storage on one wall keeps a walk-in compact and leaves the rest of the floor open. Dark wood shelving beside the bed, as here, reads like built-in furniture instead of a separate closet.
I’d use that wall fully: a hanging rod for daily clothes, shelves above and below for folded pieces and bags. Without a second side, the one wall has to be planned shelf by shelf.
A partition between closet and bedroom keeps the rods and shelves out of the sleeping area.
8. Double-sided Walk-in
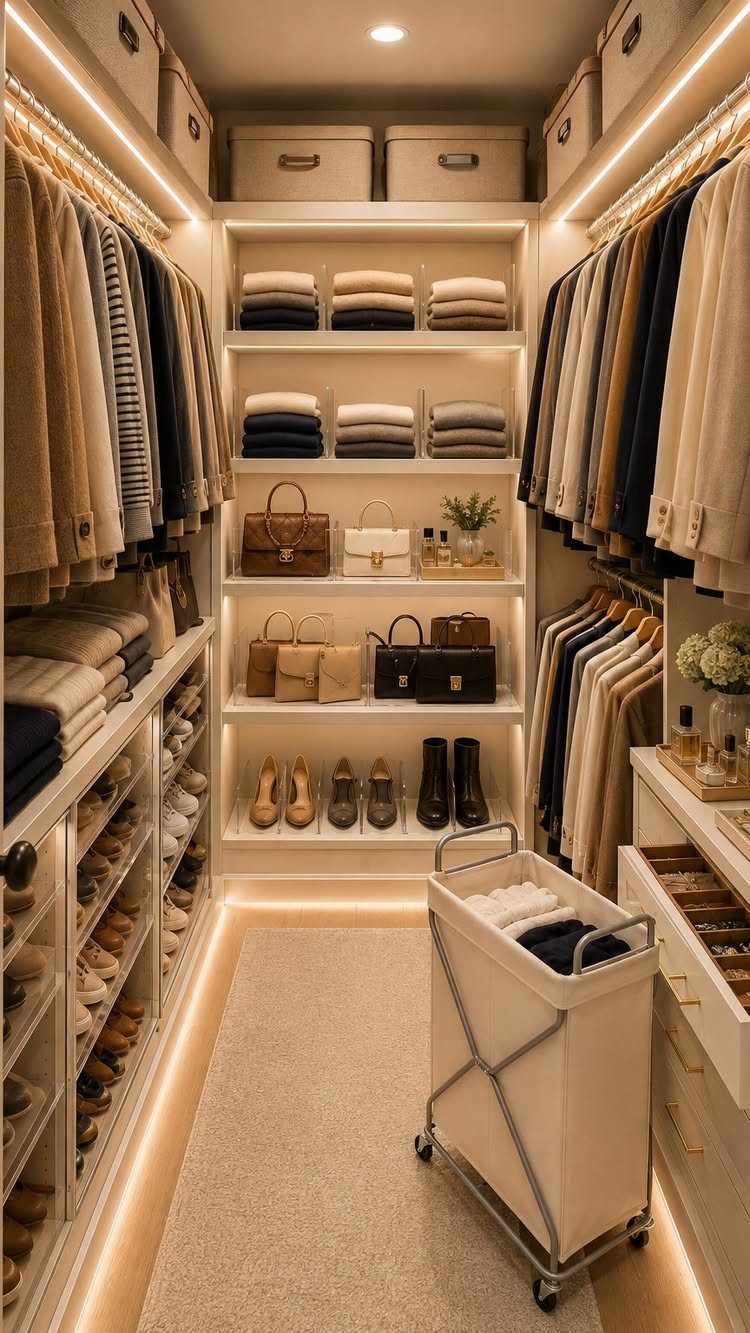
Storage on both sides with a clear path down the middle is the classic walk-in layout, and it gives you the most hanging and shelf space per square foot.
Here, rods and shelves line both walls, and a rug warms the floor.
I’d hang longer items on one side and shorter ones on the other, then put shoes and bags on the shelves between. A rolling hamper like this one parks at the end and moves out of the way.
Keep the center path wide enough for comfortable movement.
9. Hanging Storage in Walk-in Closet
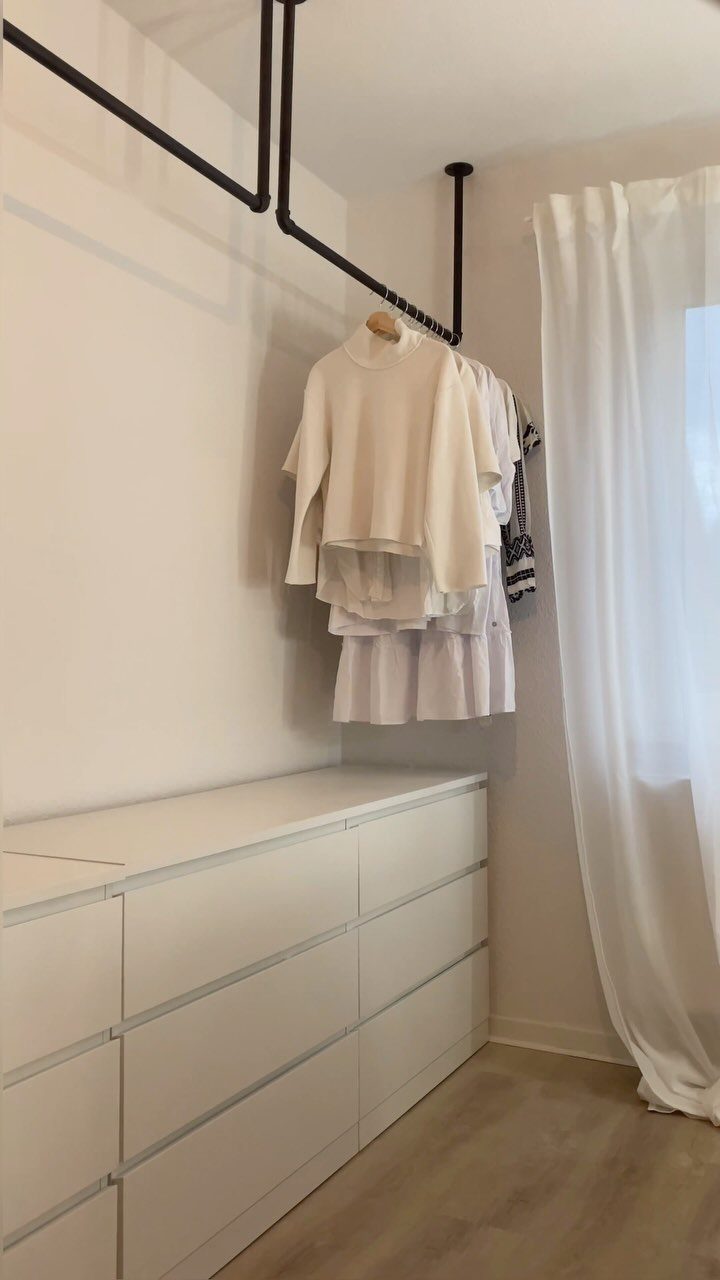
A single rod needs standard depth behind it, because hangers sit sideways and clothes push out from the wall. Skimp on that depth and sleeves crush against whatever is behind them.
I like the contrast of dark pipe and a light background.
Mount the rod high enough that garments clear the dresser top.
Planning for Future Storage Needs
Plan for 20–30% more capacity than your wardrobe needs today. A closet sized to exactly what you own is full the first time you buy a winter coat.
Think through the changes that are likely: a bigger or smaller wardrobe, a partner sharing the space, a hobby that needs its own gear, or seasonal items that rotate in and out.
Count your hanging rods, shelves and drawers against what you actually store, then add the cushion on top.
Modular drawers and adjustable shelving are the cheapest way to keep that cushion useful. Empty space you can reconfigure beats empty space that only fits one thing.
Measuring for Walk-in Closets
Start with 3 numbers: width across the room at floor level, depth from the front wall to the back wall, and height from the floor up to the ceiling.
Check each one in three spots, at both corners and halfway between, because walls in older homes rarely run true. Walls are rarely straight, so plan around the smallest number.
Then write down everything that eats usable space: door swing, windows (height, width and sill depth), outlets and switches, HVAC vents, baseboards and crown molding.
Finish by checking the walkway. Then take the depth of the storage on each side and subtract it from the room’s full width to see what walking space is left.
In a 5×5 closet with 24 inches of storage on one wall and 14 inches of shelving on the other, you’re left with 22 inches.
If that leaves you under 24 inches, I’d cut one side down to 12-inch shelves or move all the storage onto a single wall.
The most common closet depth size is 24 inches, but beyond that, standard closet size varies widely depending on the intended use and the square footage and layout of the home.
Common Design Mistakes
Designing to the 24-inch minimum is the most common mistake. It works on paper and feels like a corridor in daily use, so plan on at least 30 inches of clear walkway, and 36 inches if the room allows.
Door swing causes the next problem. Keep the first 24–30 inches past the door clear of hanging rods and shelves, or swap a swinging door for a pocket door so nothing collides with it.
Dark corners are another one. Add task lighting where you pick out clothes, plus softer light overall.
Small things get lost without a spot of their own, so I give accessories and folded pieces pull-out drawers, trays or bins. Without them, clutter wins quickly.
Frequently Asked Questions
Is 6×6 big enough for a walk-in closet?
Yes, a 6-foot-wide closet works, but how comfortable it feels depends on the layout. With storage on one wall, 24 inches of hanging depth leaves a roomy 48-inch walkway.
Put shelving or rods on both walls of a 6×6 and the walkway shrinks to roughly 24 inches, which works but feels snug when you dress there every morning.
I’d put everything on one wall or use shallower shelving on one side.
How wide should the walkway be in a walk-in closet?
A clear path of 30 inches is the minimum I’d accept, and 36 inches is far more comfortable if you can spare it.
Twenty-four inches works on paper but feels like a corridor day to day. Take your measurements with the drawers fully open, because that’s the moment they block the path.
How much extra storage should I plan for in a walk-in closet?
Plan for 20–30% more capacity than your wardrobe needs now.
Size a closet to your current wardrobe and one new winter coat will fill it to the brim. Adjustable shelving and modular drawers keep that spare room useful, because you can reconfigure it for whatever comes next.