Wood shelves in a closet run from budget boards on simple brackets to a modular organizer unit or solid boards cut wall to wall, and whether you rent or own the walls decides which one fits.
Renters can lean on the modular organizer unit, which needs no holes in the wall, while brackets, floating L-shaped corner shelves and wall-to-wall boards all get screwed in and belong in a place you plan to keep.
1. Cost-effective Shelving
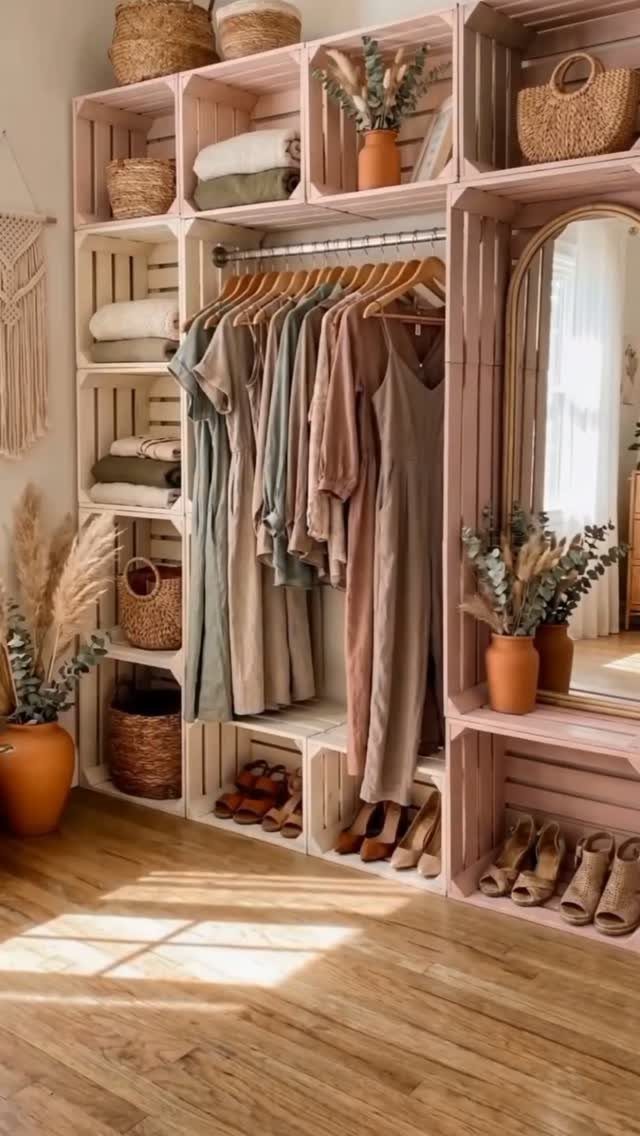
Wooden crates stacked and screwed together make a closet system for far less than a custom build. Painted pink, they also stop looking like produce boxes.
Fasten the stack to the wall or to each other so it can’t tip, then sand the rough edges before painting. A hanging rail across the top handles clothes, while single crates become shoe cubbies or basket slots.
I like this for renters, since nothing about it is permanent. Expect some paint touch-ups where the crates rub.
2. Brackets for Wood Shelves
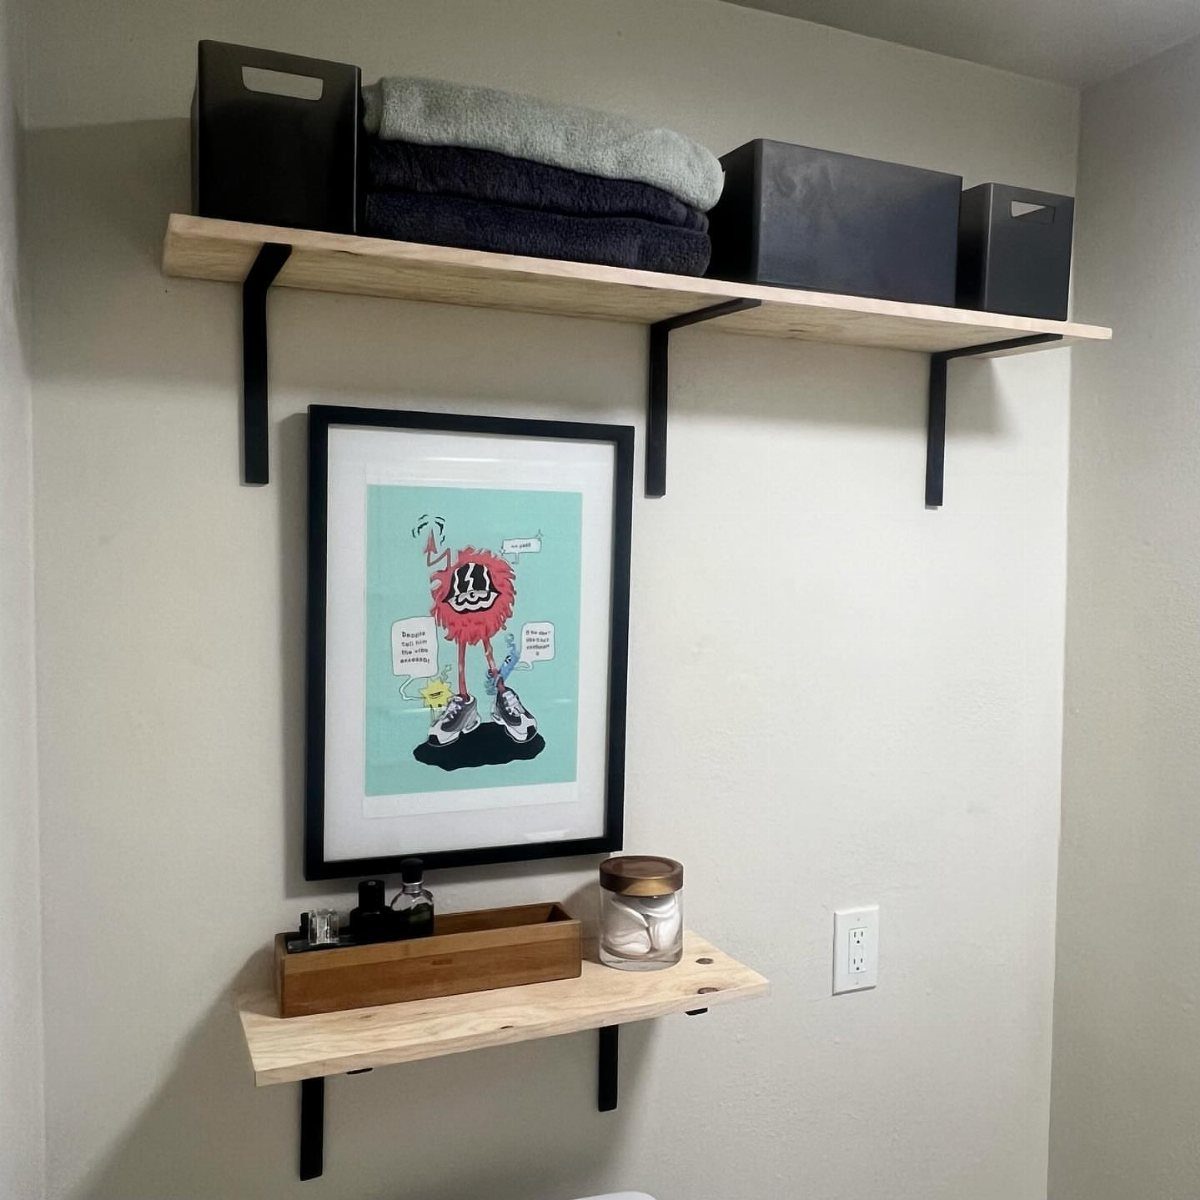
Black metal brackets are what keep a wood shelf from sagging, and they also read as a design choice against a white wall. Pairing them with light wood gives a clean, high-contrast look.
Match the bracket depth to the shelf, so the arm supports most of the board. Screw into studs where you can, or use wall anchors rated for the load if you can’t.
Skimping on brackets is the mistake I’d steer you away from. Add more of them rather than fewer.
3. Custom Closet Design
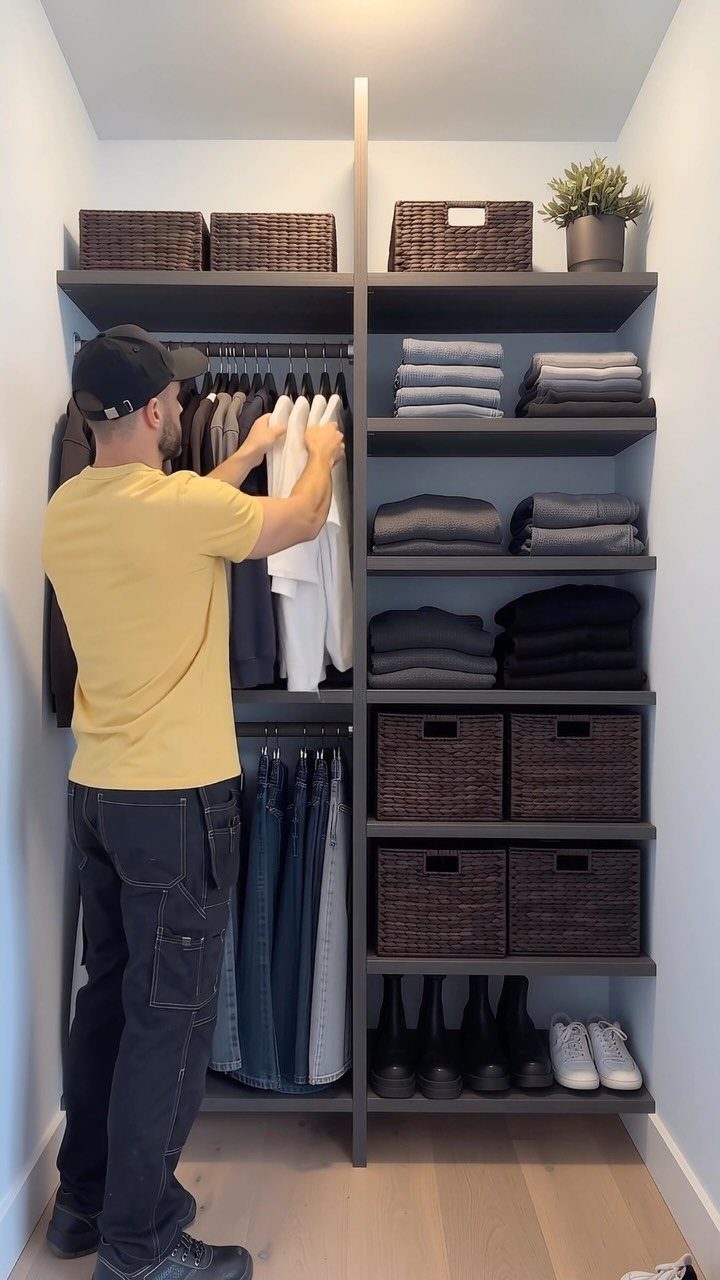
A closet built around what you actually own beats any stock layout.
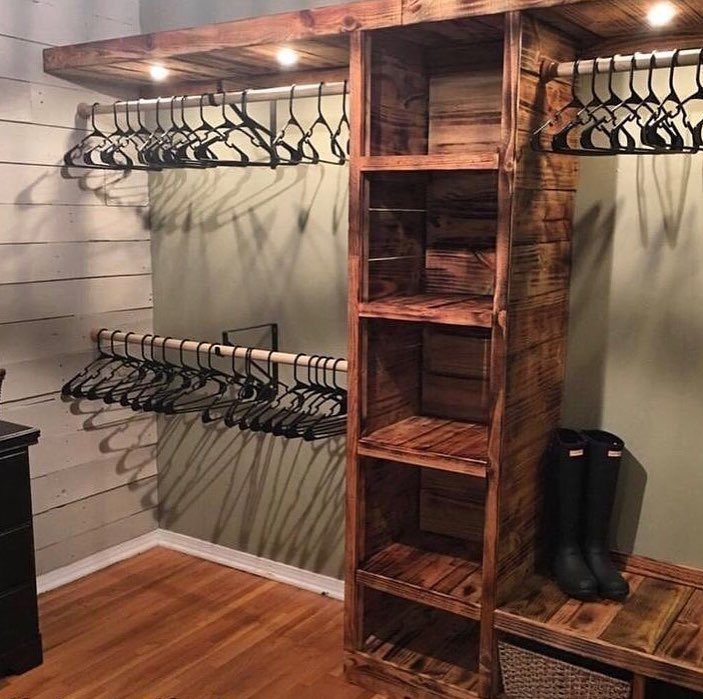
Build the layout around what you actually own: set shelf heights to your folded shirts, rod length to your hanging pieces, and cubby depth to the shoes and bins you use every week.
Start by measuring your hanging clothes and counting folded stacks, then assign each a zone. Shelves go where folded items live, rods where shirts hang.
Custom costs more in time and money than store-bought units, so I’d build only the sections that need exact dimensions. Fill the rest with simple baskets.
4. Wood Shelves with Integrated Lighting
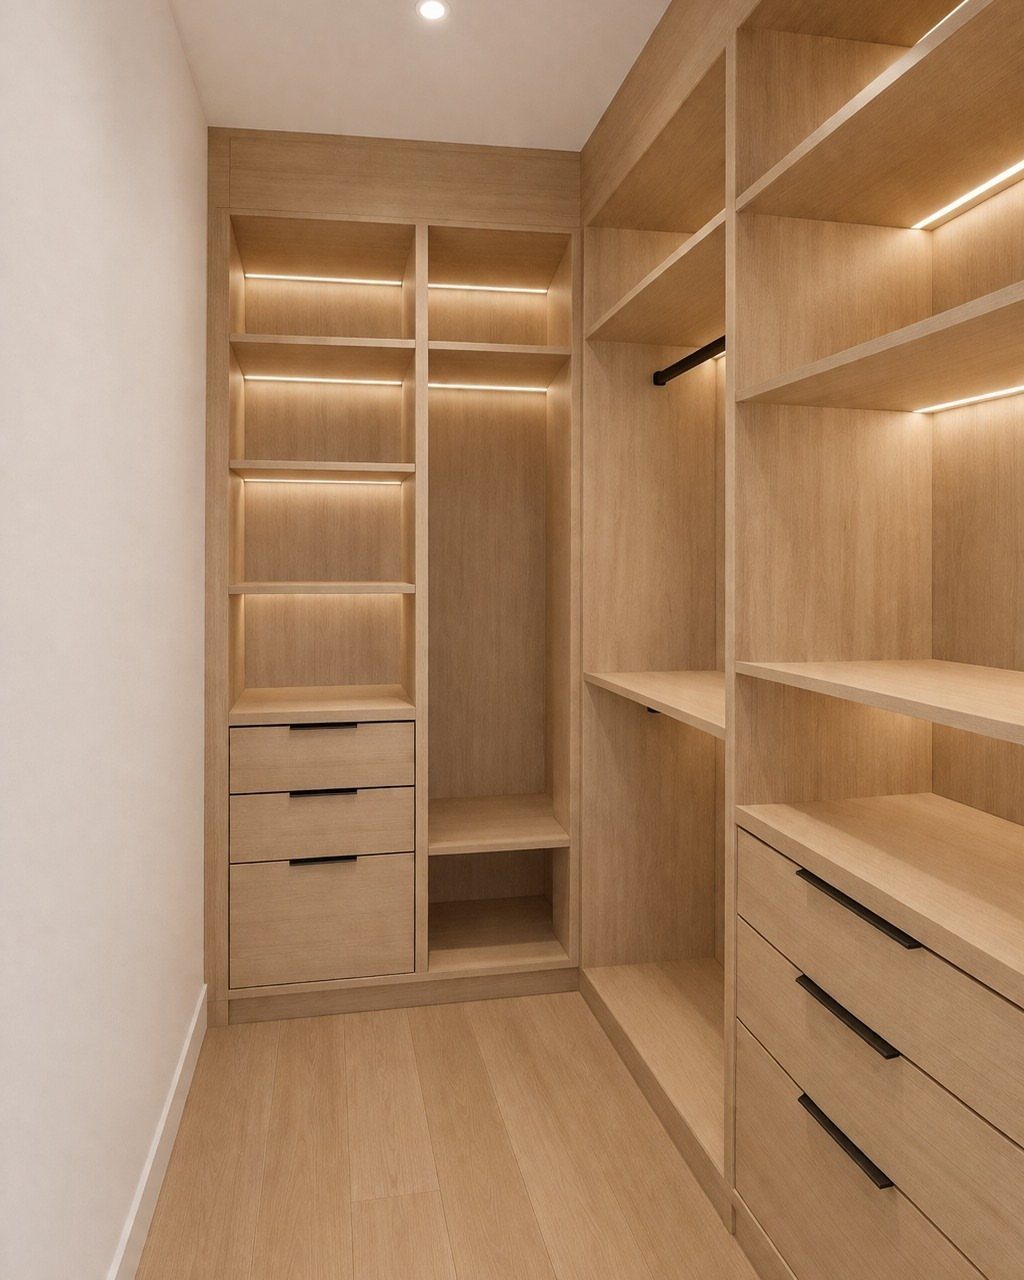
LED strip lighting tucked under light wood shelves lights each shelf from above, so you stop digging in shadows. Against pale wood, the glow stays soft.
Mount the strips on the underside front edge of each shelf, where they shine down on whatever sits below. Plan the power route before you install, because hiding cords behind the shelving is far easier at the start than later.
I’d add it to a walk-in with drawers, where dark corners cost you the most.
5. Floating L-shaped Corner Wood Shelves
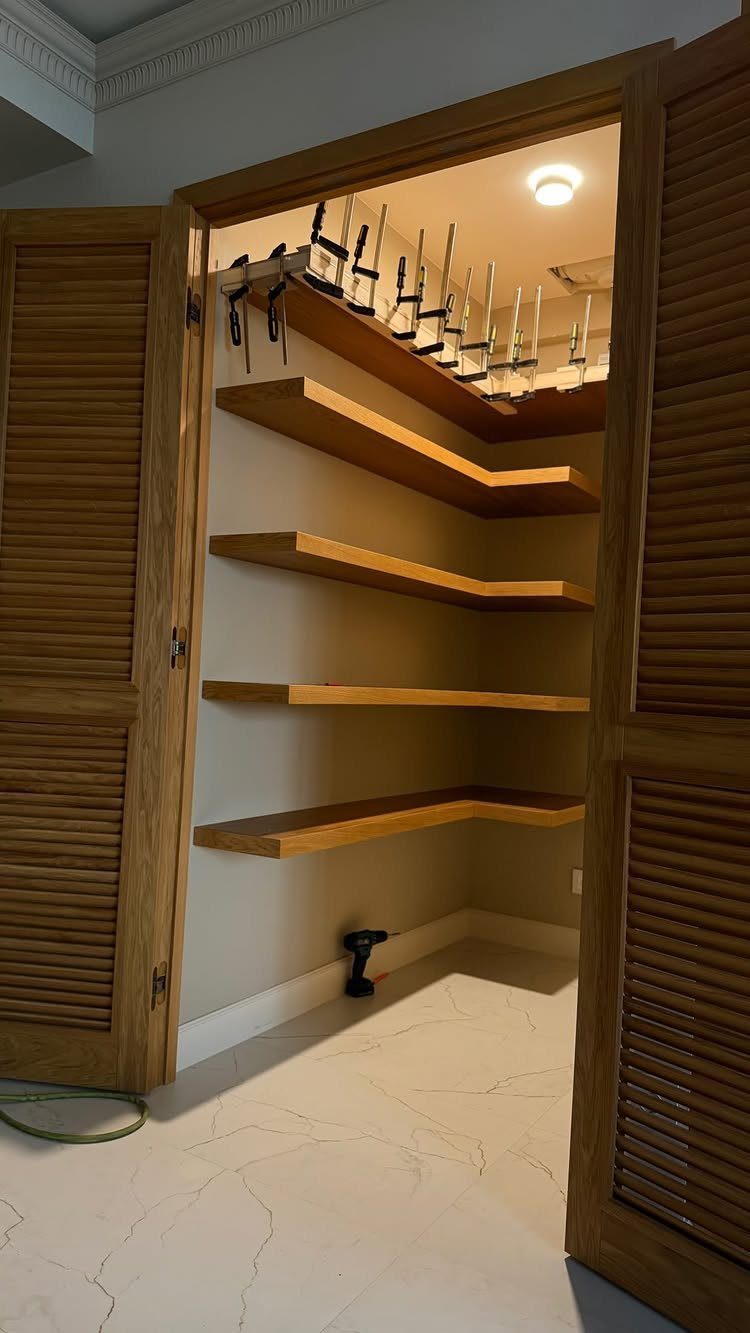
Corner space often goes to waste, and floating L-shaped shelves put it to work. Light brown wood wrapped around the closet’s corners gives you storage without a floor-bound unit.
Mark level lines first, then drive fasteners into studs, since an L-shaped shelf carries weight across 2 walls. A cordless drill and a level are the main tools.
I like leaving a hanging rack beside them. Shelves for folded items, rack for everything else.
6. Modular Wood Closet Organizer Unit
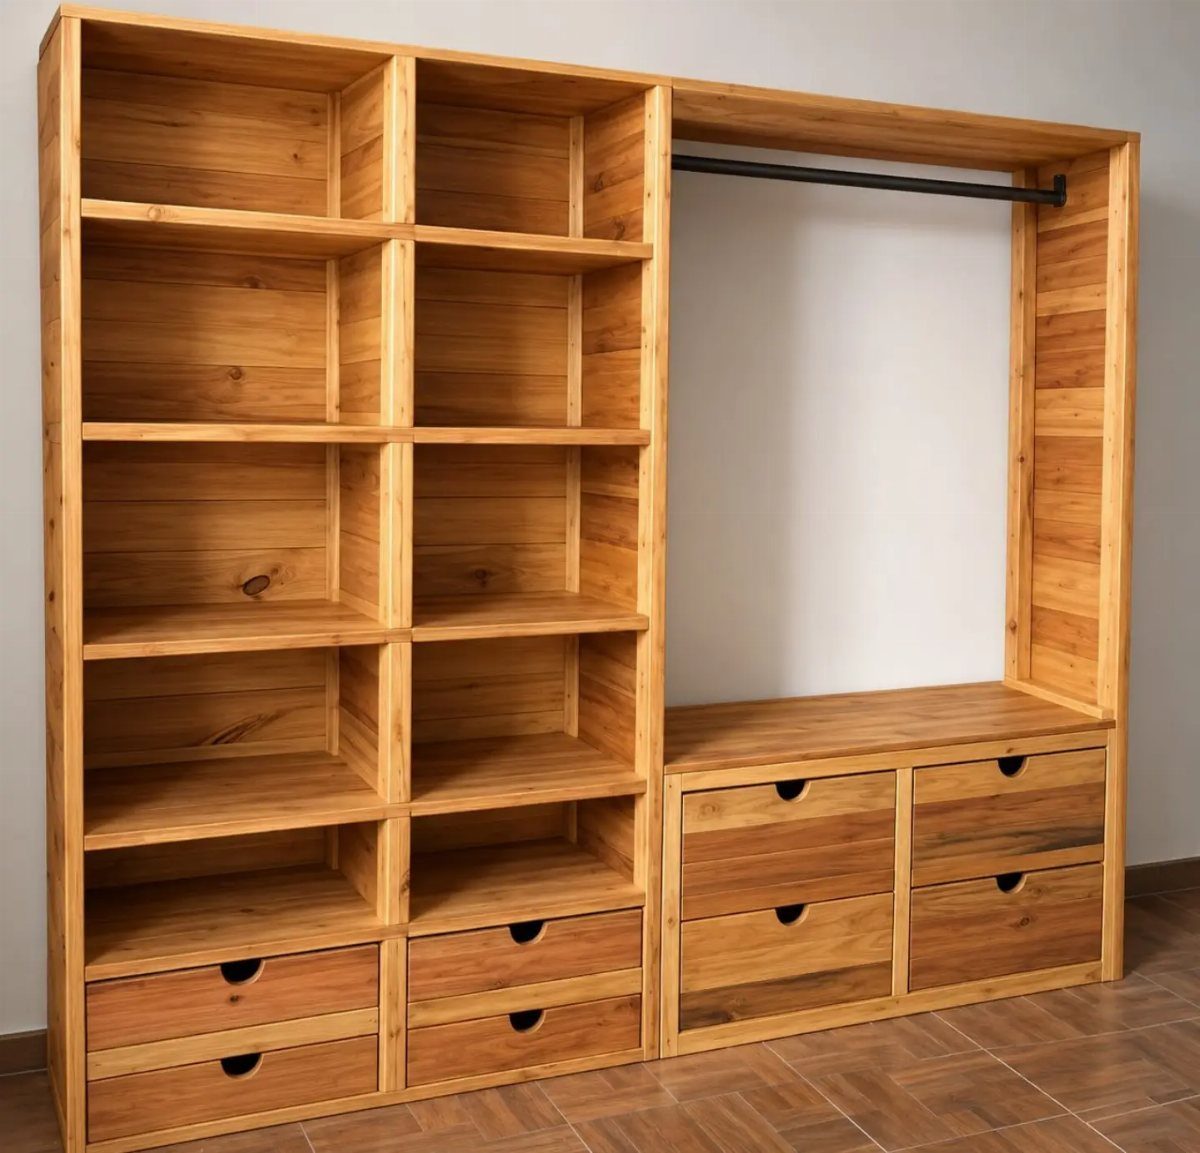
A natural wood organizer gives you shelves, drawers and a hanging rod in one piece, and you can set it against a wall without drilling. That makes it a sensible pick for renters.
Measure the wall width and ceiling height first, then confirm the drawers can pull all the way out without hitting a door frame or a neighboring unit. Modular versions let you add sections later as your budget allows.
Open shelving looks nice but shows clutter. I’d keep the top shelves for baskets and the drawers for small items.
7. Wall-to-wall Solid Wood Shelves
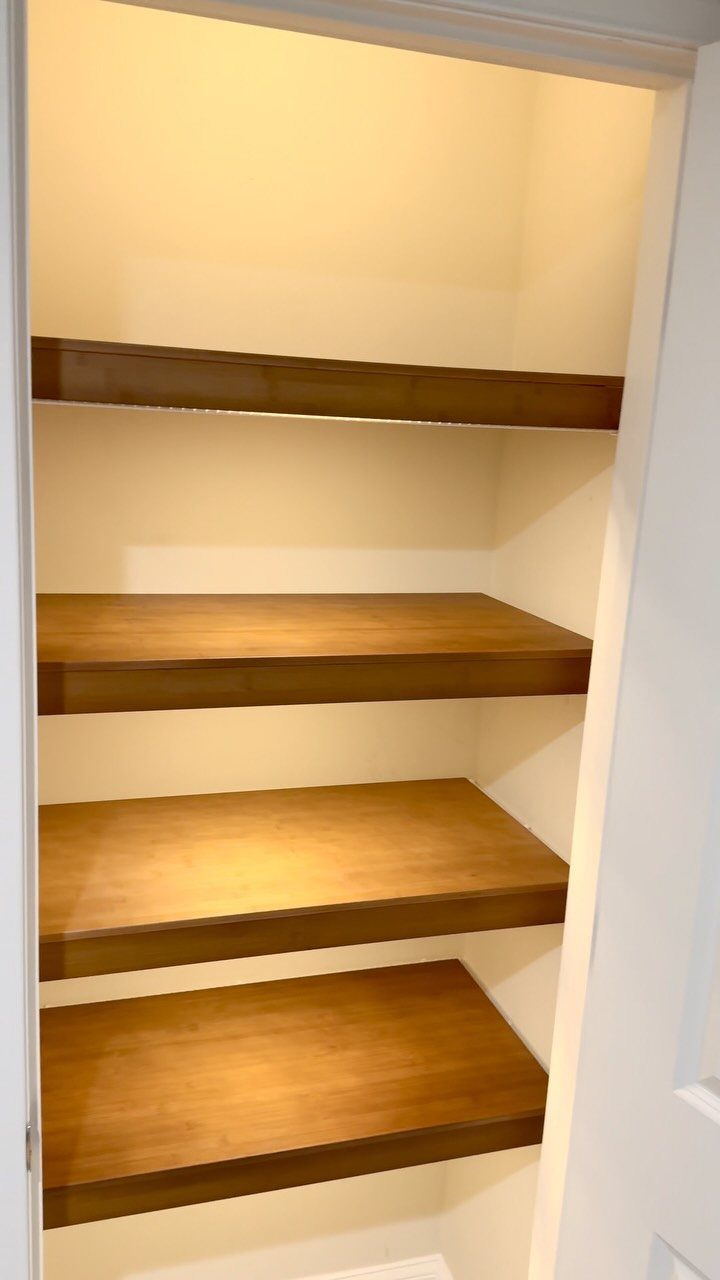
Thick solid boards run from wall to wall in an alcove give you the strongest shelf a closet can have, because both ends rest on the walls and the span is short.
A deep brown finish against white walls reads as built-in.
Measure the alcove width at the front and the back, since walls are rarely square, then cut each board to fit snugly. Support the ends with cleats screwed into studs, and add a center support if the span is long.
I’d pick thick boards over thin ones. Heavier stacks of folded sweaters won’t bow them.
8. Wood Closet Shelving with Rod
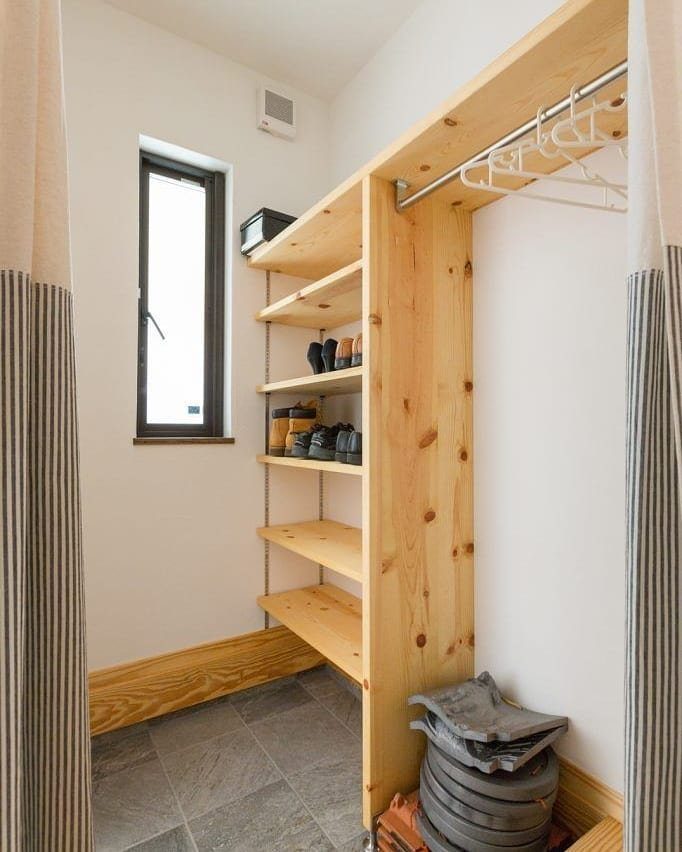
Light wood shelves on one wall and a metal rod on another let a walk-in handle folded and hanging clothes without extra furniture. The pale grain keeps the room bright, and the metal rod stays out of the way visually.
Hang the rod where your longest garments clear the floor, and put shelves above or beside it for folded stacks. Anchor the rod brackets into studs, because a loaded rod pulls hard.
I prefer keeping shelves and rod on separate sections. Hanging clothes brushing shelf edges gets old fast.
9. Slatted Wood Closet Shelves
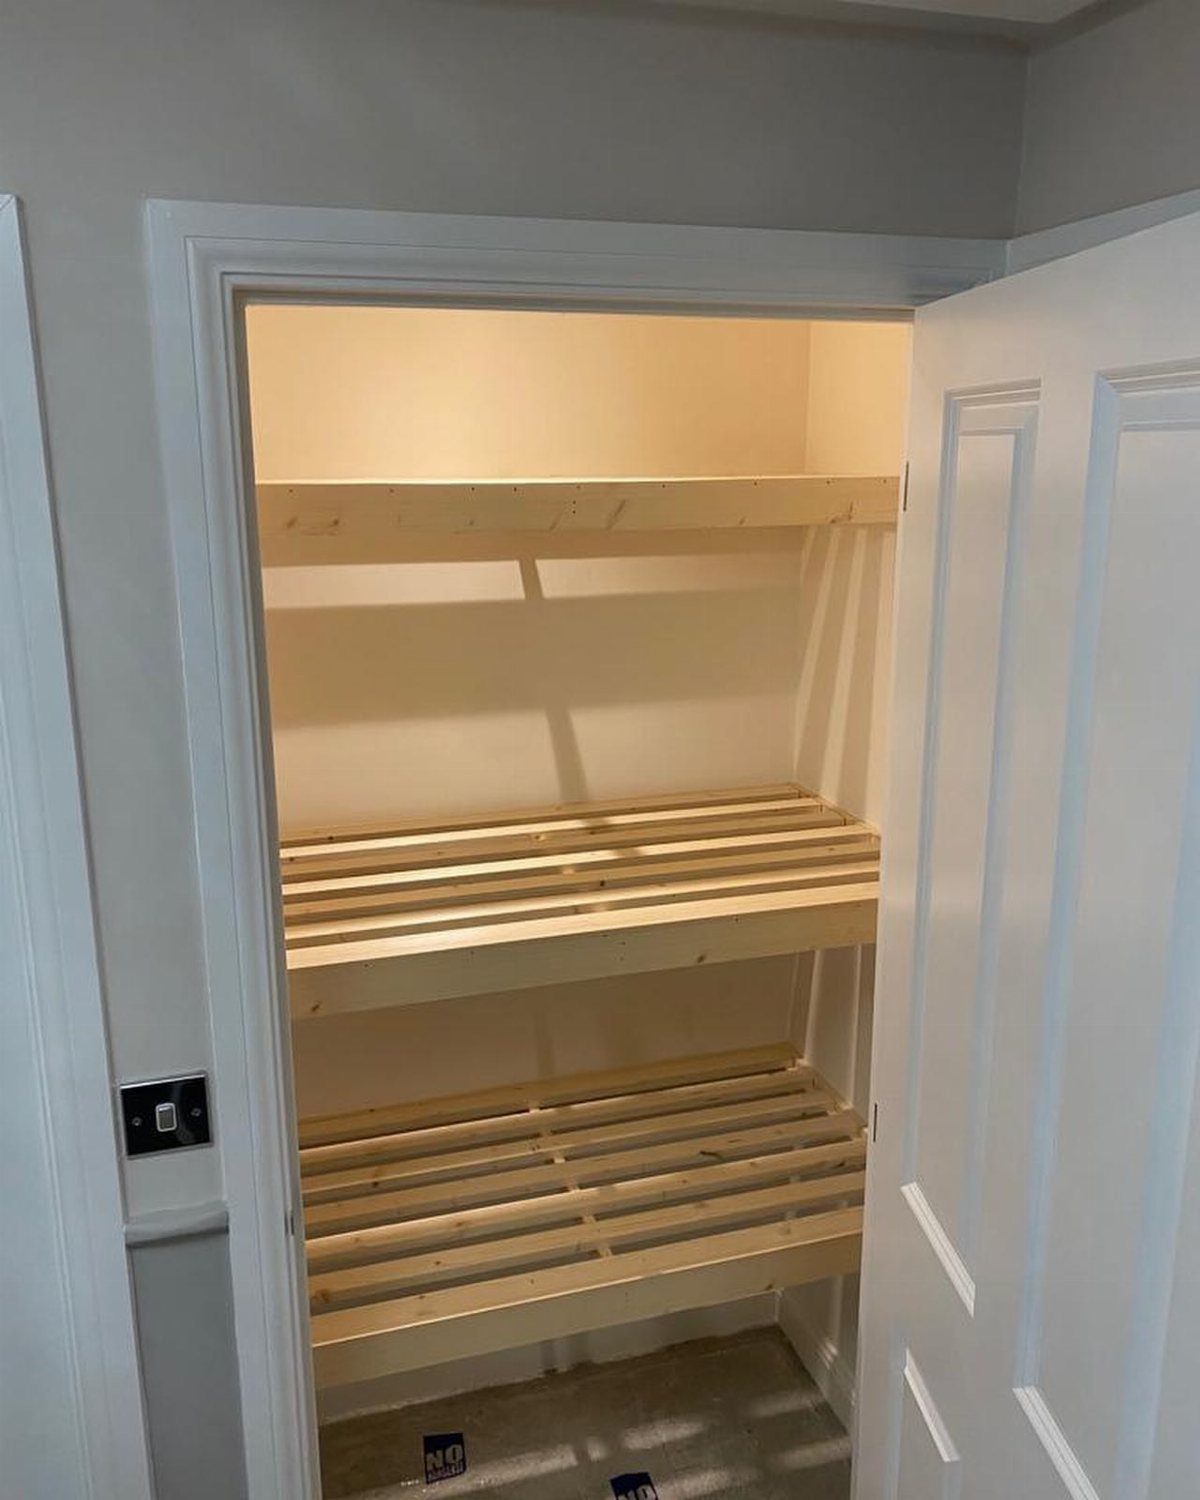
Slatted shelf bases let air move around what you store, which suits towels, sweaters and shoes better than a solid board. Light natural wood keeps the look calm.
Leave small, even gaps between the slats and fasten them to two or three cross supports so the shelf stays rigid. Sand every edge, since fabric snags on rough wood.
Slats do let small items slip through, so I’d use them for bulkier things and put a solid shelf above for anything small. Mixing both works well.
10. Wood Closet Shelves with Storage Bins
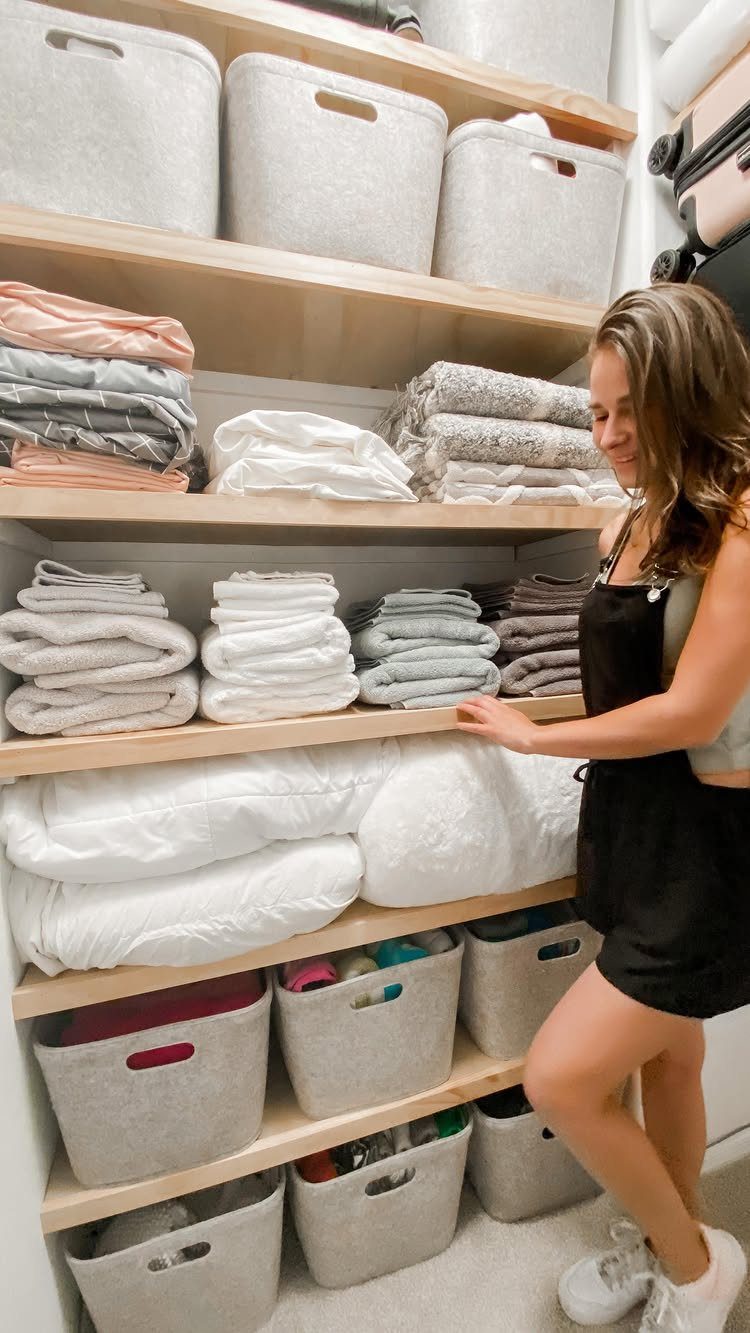
Matching fabric bins on light wood shelves hide the visual noise of odds and ends, while folded linens stay stacked on open shelves for quick grabbing. Grey bins sit quietly against pale wood.
Buy bins after the shelves are up, and measure the opening height and depth so each bin slides in with a little room. Label the fronts if the bins are identical.
I’d use bins for loose or small things and keep open stacks for linens. Uniform bins make a closet look finished for little money.
11. Floating Wood Shelves in Closet Nook
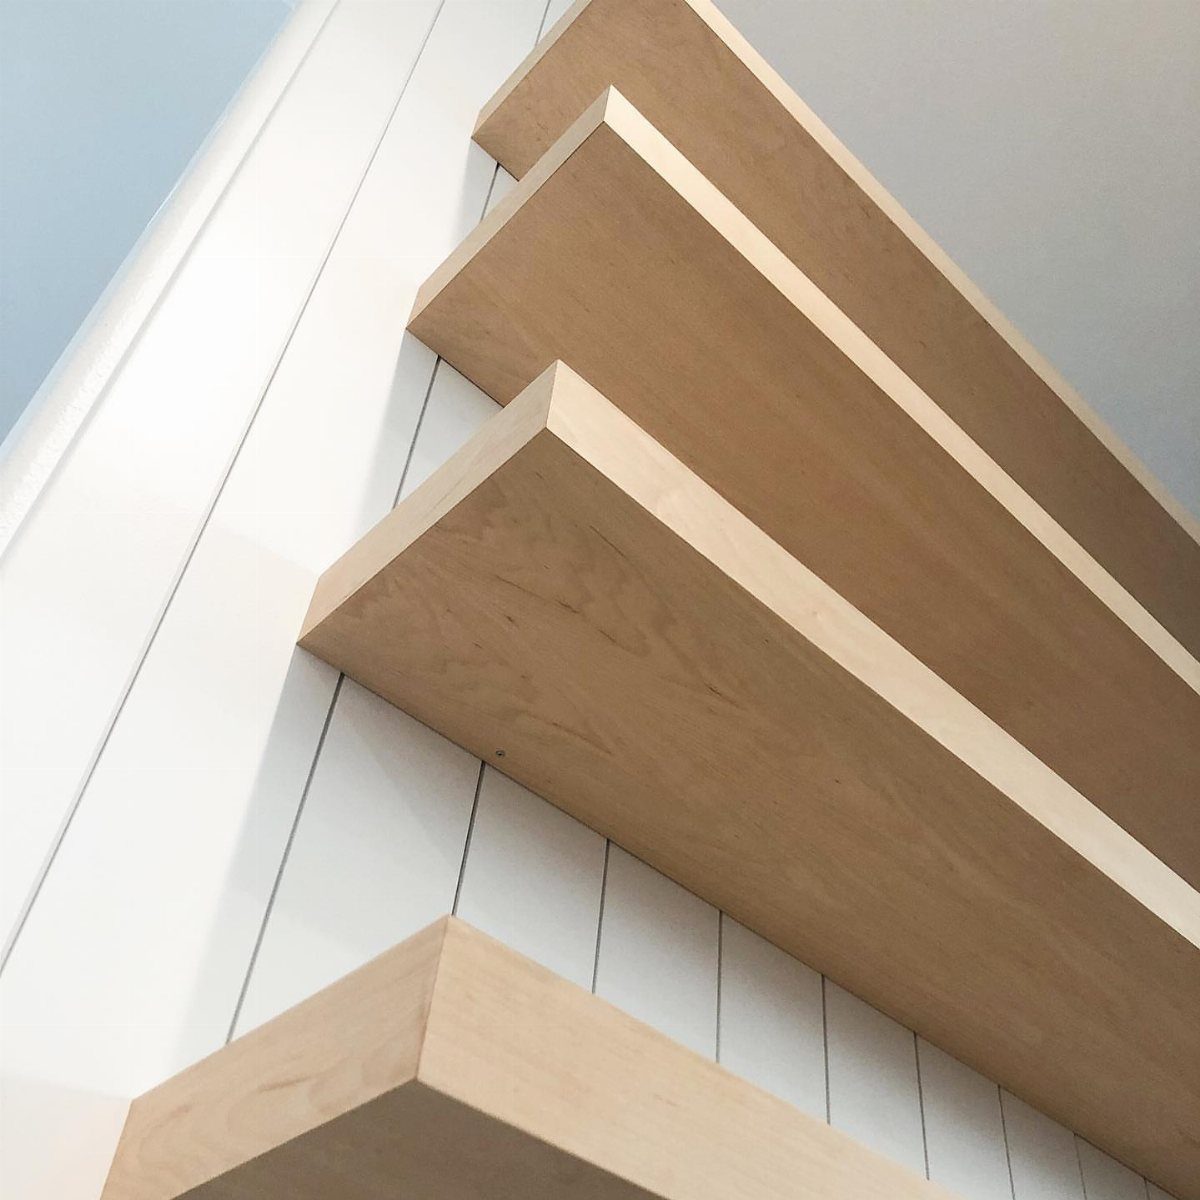
Short floating shelves stacked on a paneled wall make a closet nook useful without taking floor space. The light wood looks tidy against white vertical panels.
Find the studs first and mount the brackets into them, since panels alone won’t hold weight. Use a level across every shelf, and space them to fit what you plan to display, such as folded items or small baskets.
Keep loads modest. Floating shelves suit lighter things, and I’d save heavy stacks for supported boards.
Benefits of Wood Shelves
Wood holds up where wire and plastic give out. Shoes, folded jeans and loaded bins sit on it for years without the sagging or bending you see on thinner materials.
Wood also takes a finish. Stain shows the grain, paint gives a flat modern look, and either one can match the rest of the room.
Strength depends on installation, though. Even a good board needs proper brackets or supports, so budget for those along with the lumber.
Maintenance Tips for Wood Shelves
A microfiber cloth swipes dust off wood without scratching it, and a cut-to-fit shelf liner takes the abuse from shoe soles and bin corners so the finish doesn’t have to.
Keep the wood away from excess moisture, which is what causes warping.
Every 2–3 years, expect to put on a fresh coat of sealant or paint, since that’s about how long the finish lasts on a closet shelf that gets handled. A fresh coat is cheap compared with replacing boards.
For finishing, water-based stain and sealer is my pick for closet work.
Water-based finish dries fast and barely smells, so I can build, coat and install in a single day, where an oil-based product would leave the closet sitting 2–3 days to cure and air out.
Weight Capacity of Shelves
Properly supported wood shelves typically hold 50–100 pounds each. Where yours lands in that range depends on thickness, span and wood type.
Start with 3/4 inch plywood or solid wood as the minimum thickness. Longer spans or heavy loads call for 1 inch stock, or a strip of wood fastened along the front edge to stiffen the shelf.
Fasten supports into studs, and use quality brackets or cleats. That does more for capacity than anything else.
Depth matters too: 12–16 inches is standard. Deeper shelves suit sweaters and baskets, while 12 inches is better for small items, because anything pushed to the back of a deeper shelf tends to get forgotten.
Frequently Asked Questions
What are the best wood closet systems?
Solid wood like oak or pine is a strong pick for durability and looks, with oak and maple on the fancier side and pine cheaper.
Plywood, melamine and particle board cost less and also hold up well. Cedar and redwood resist moisture and repel moths, so they suit a humid closet or one that stores wool.
How to install wood shelves in a closet?
Clear the closet, patch any wall damage, and draw level lines where each shelf will sit.
Screw cleats or metal brackets into the studs, then set the sanded, cut-to-fit boards on top. Anchor into studs wherever you can; a bracket screwed into solid framing holds far more than anything pushed into drywall.
What is the average cost of a closet system?
For a basic DIY wood closet, I’d budget roughly $75–$200, with the swing coming mostly from whether you buy pine boards or hardwood plywood.
Building your own tends to land around $15–$20 per linear foot, and one 10-foot closet came in near $200. Custom installations can top $300.
How much weight can wood closet shelves hold?
Each shelf that is screwed into studs and braced properly can usually carry 50–100 pounds.
Thickness, span and wood type decide where yours falls. Use 3/4 inch plywood or solid wood as the minimum, and step up to 1 inch stock or add a front stiffening strip for long spans or heavy loads.